Evoluent Vertical Mouse 4 Sensor Transplant
Maybe I just play games badly, but for many months I was getting serious wrist pain using my Deathadder. I tried a couple of “ergo” mice, including a Logitech ball mouse (the M570) and a no name eBay vertical mouse, but they didn’t really help, and were damn hard to play games with. At the suggestion of a physio friend, I finally bought the “real deal”, the Evoluent VM4.
It’s weird to start off, but by 2 weeks I was playing (almost) as well as I did with the DA, and my wrist pain had practically disappeared. There was only 1 problem. The sensor is garbage! It has a weird jitter I can’t really place. Is it angle snapping? 125Hz update rate? Or simply laser sensors being horrible as always? Either way, it could never replace the DA for “real” play, so I set off on an adventure to fix it.
The donor mouse
Thanks to pvh I found a suitable donor, the EVGA TORQ X5. It has enough buttons to match the 8 on the Evoluent, and a great sensor, the Pixart 3988. On top of this, I grabbed one for $20 used off Amazon. Now came the fun part - shoving it in its new case, and connecting all the switches and lights from the vertical mouse.

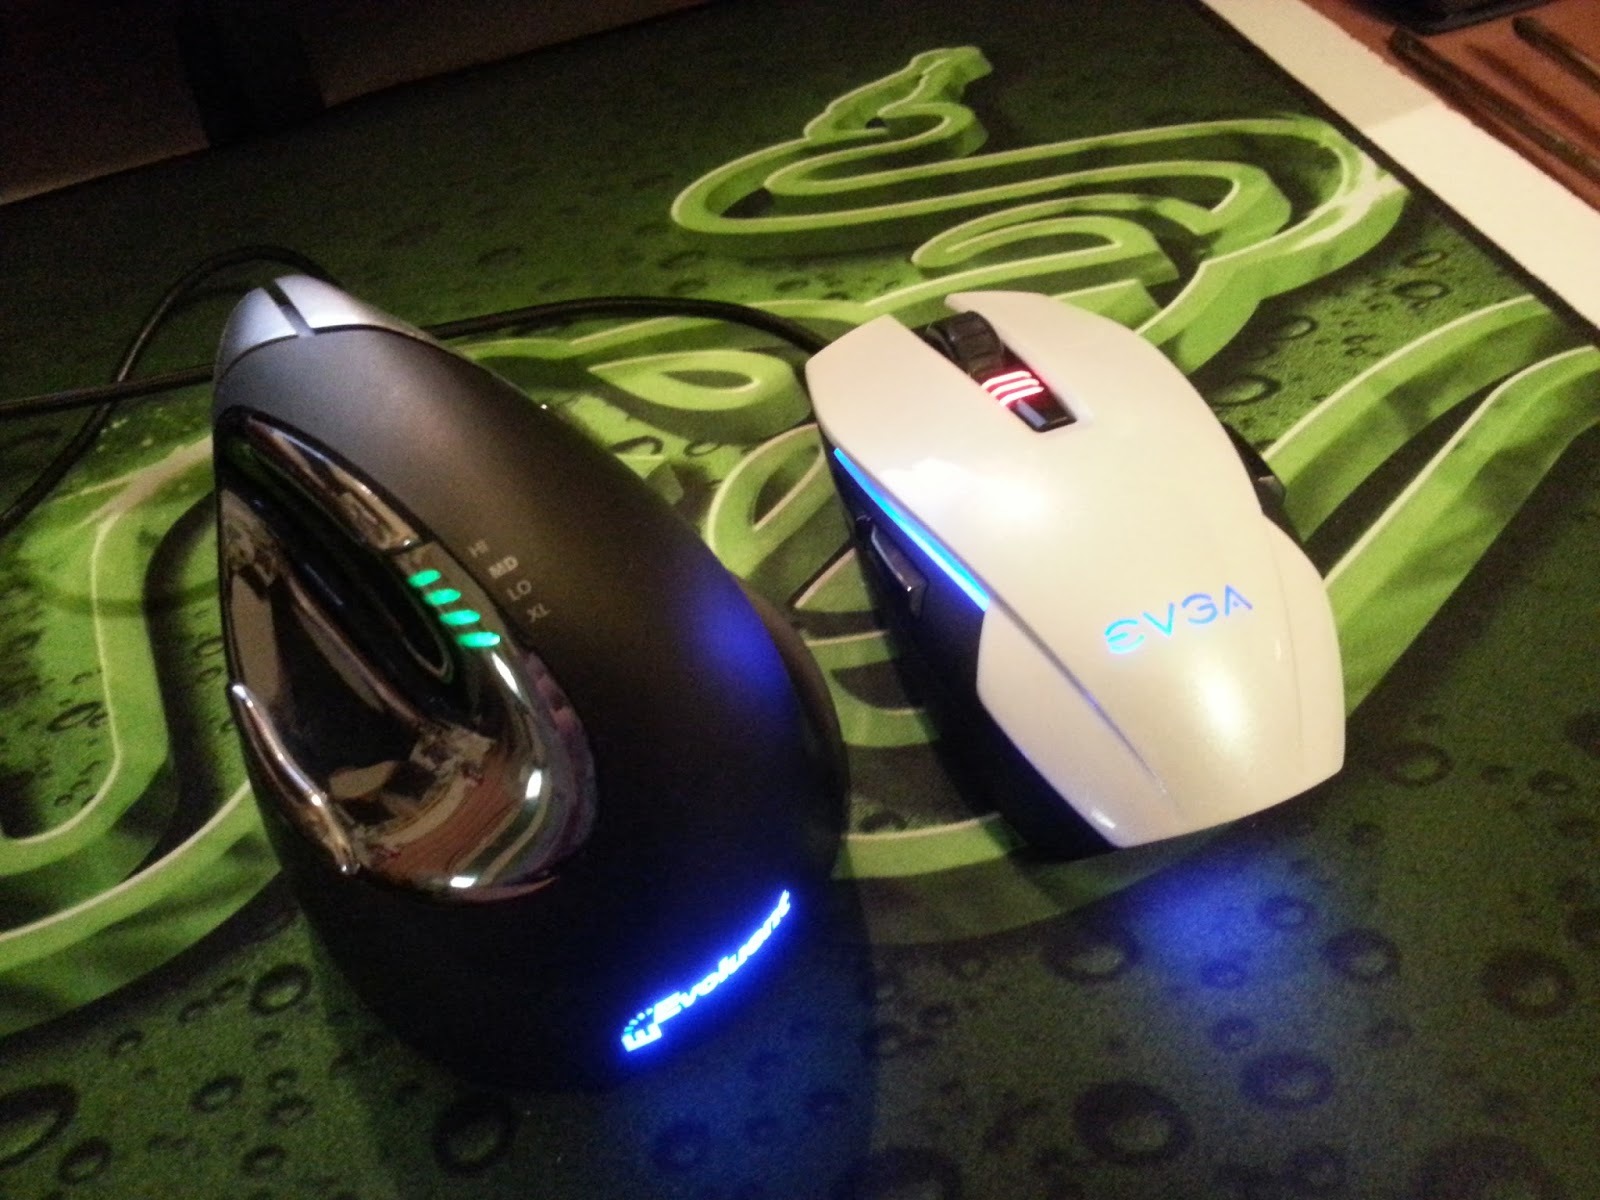
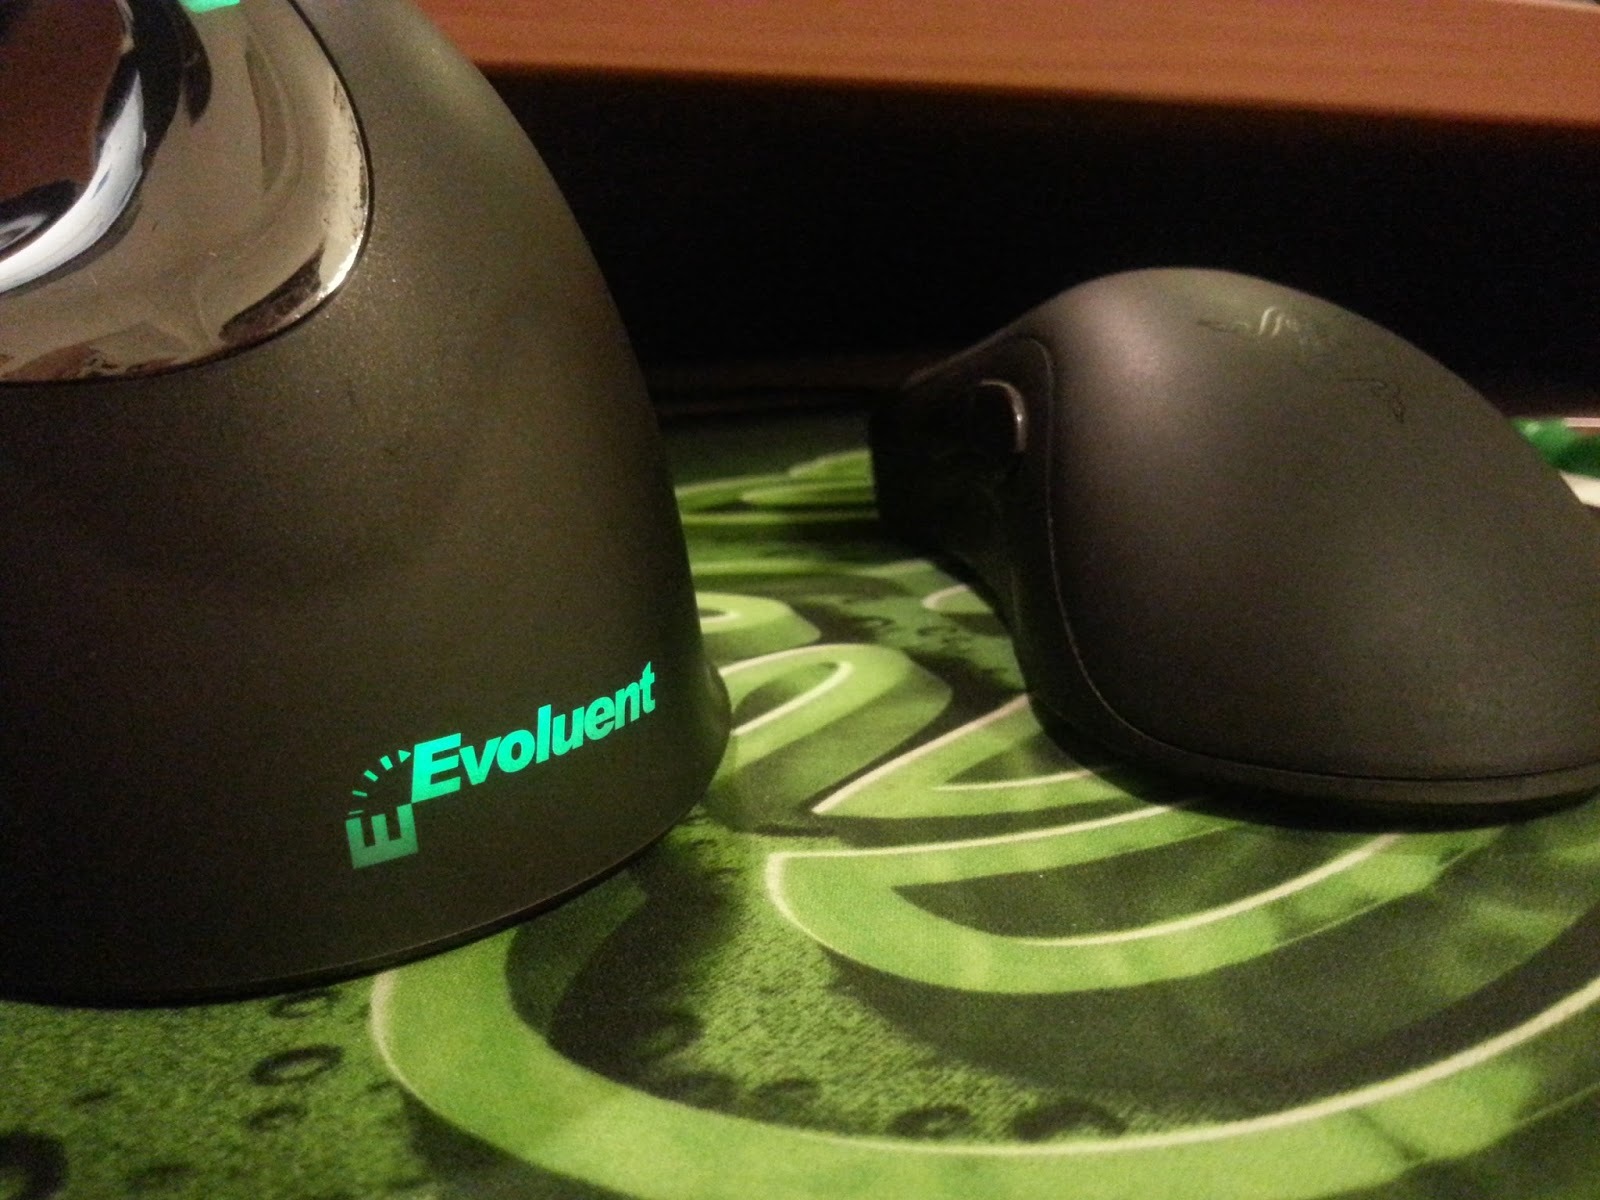
Quite the difference.
Disassembly
Evoluent Disassembly
I haven’t found anyone online do a complete disassembly of this mouse, so I’m going to be a little verbose. Feel free to skip past this section.
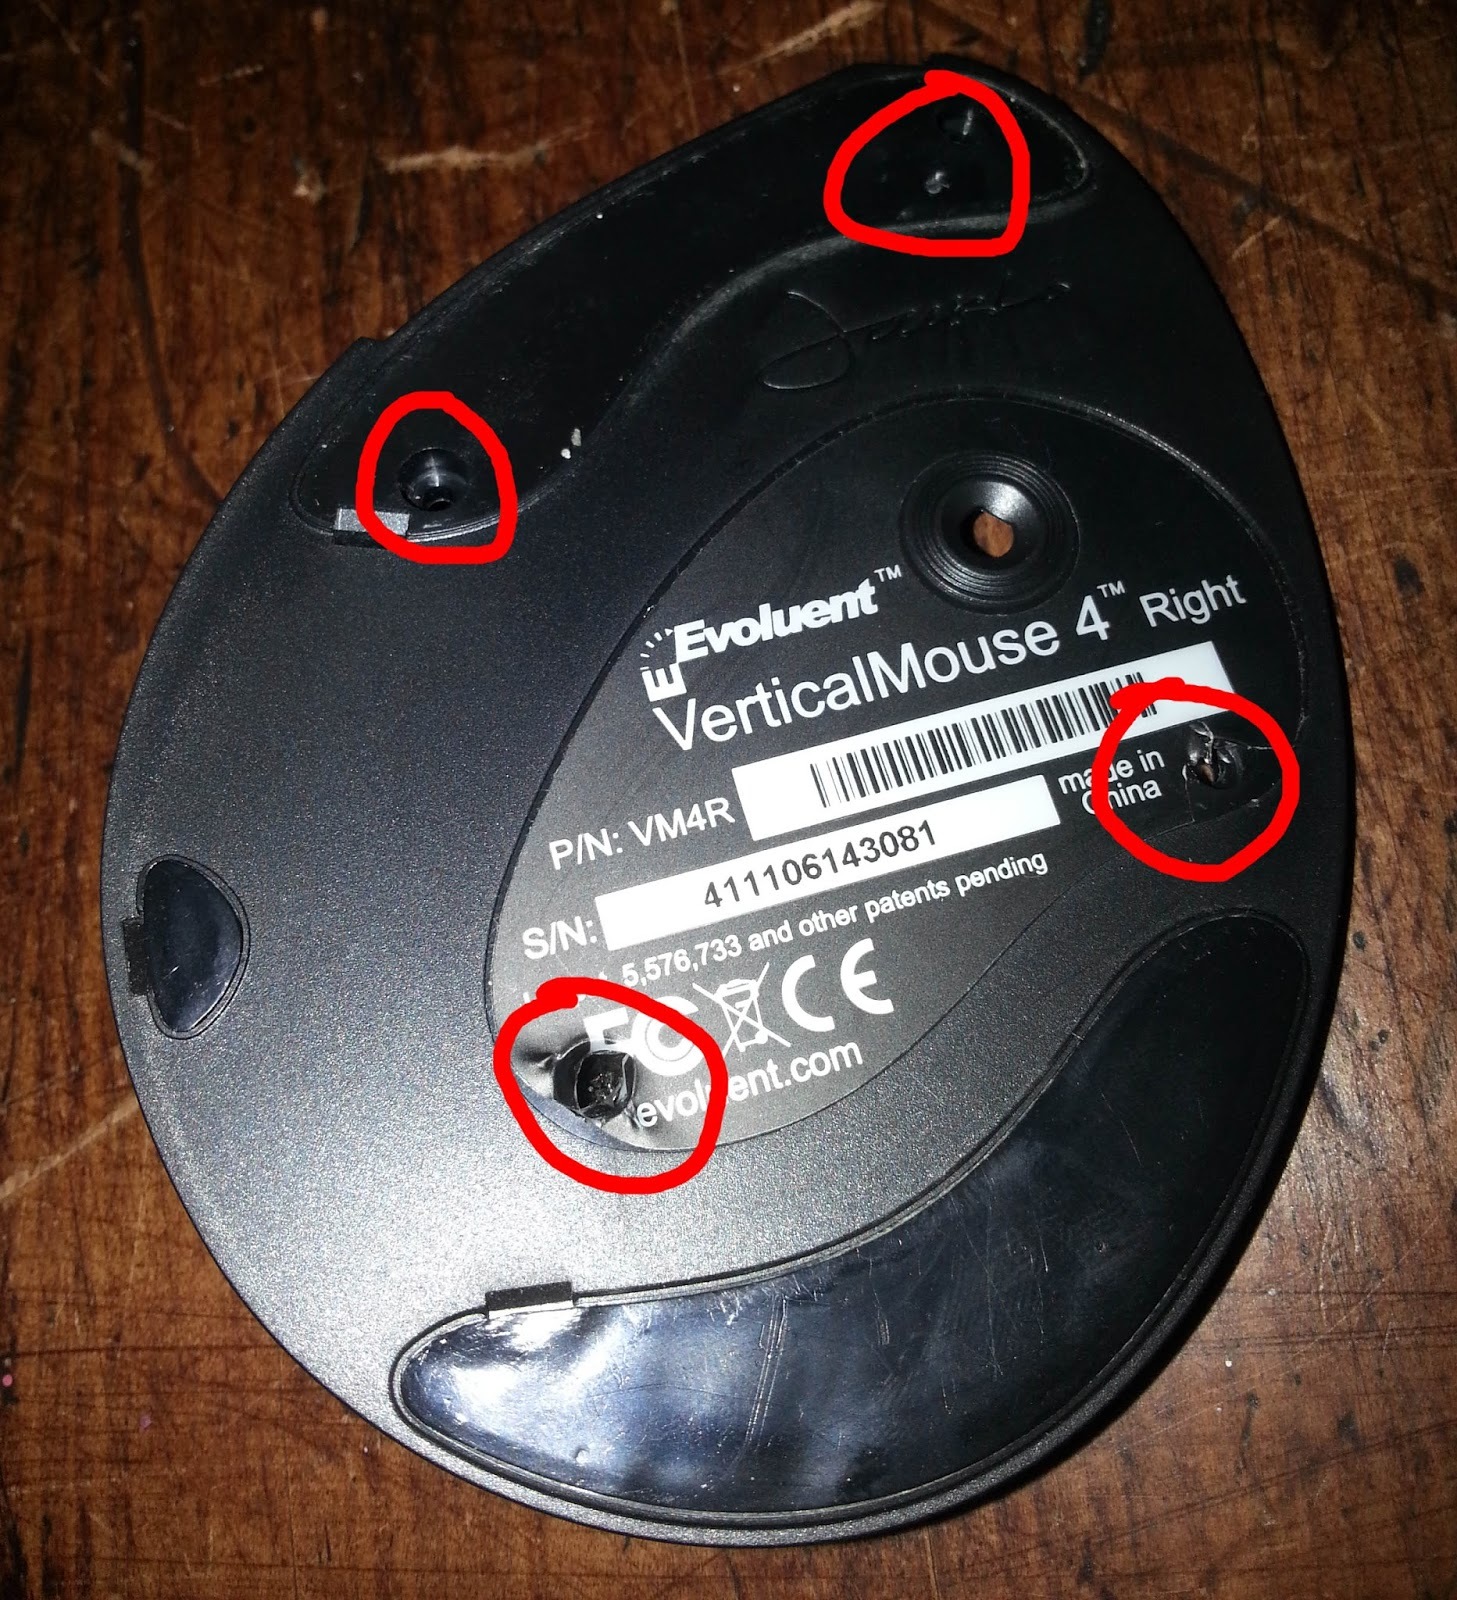
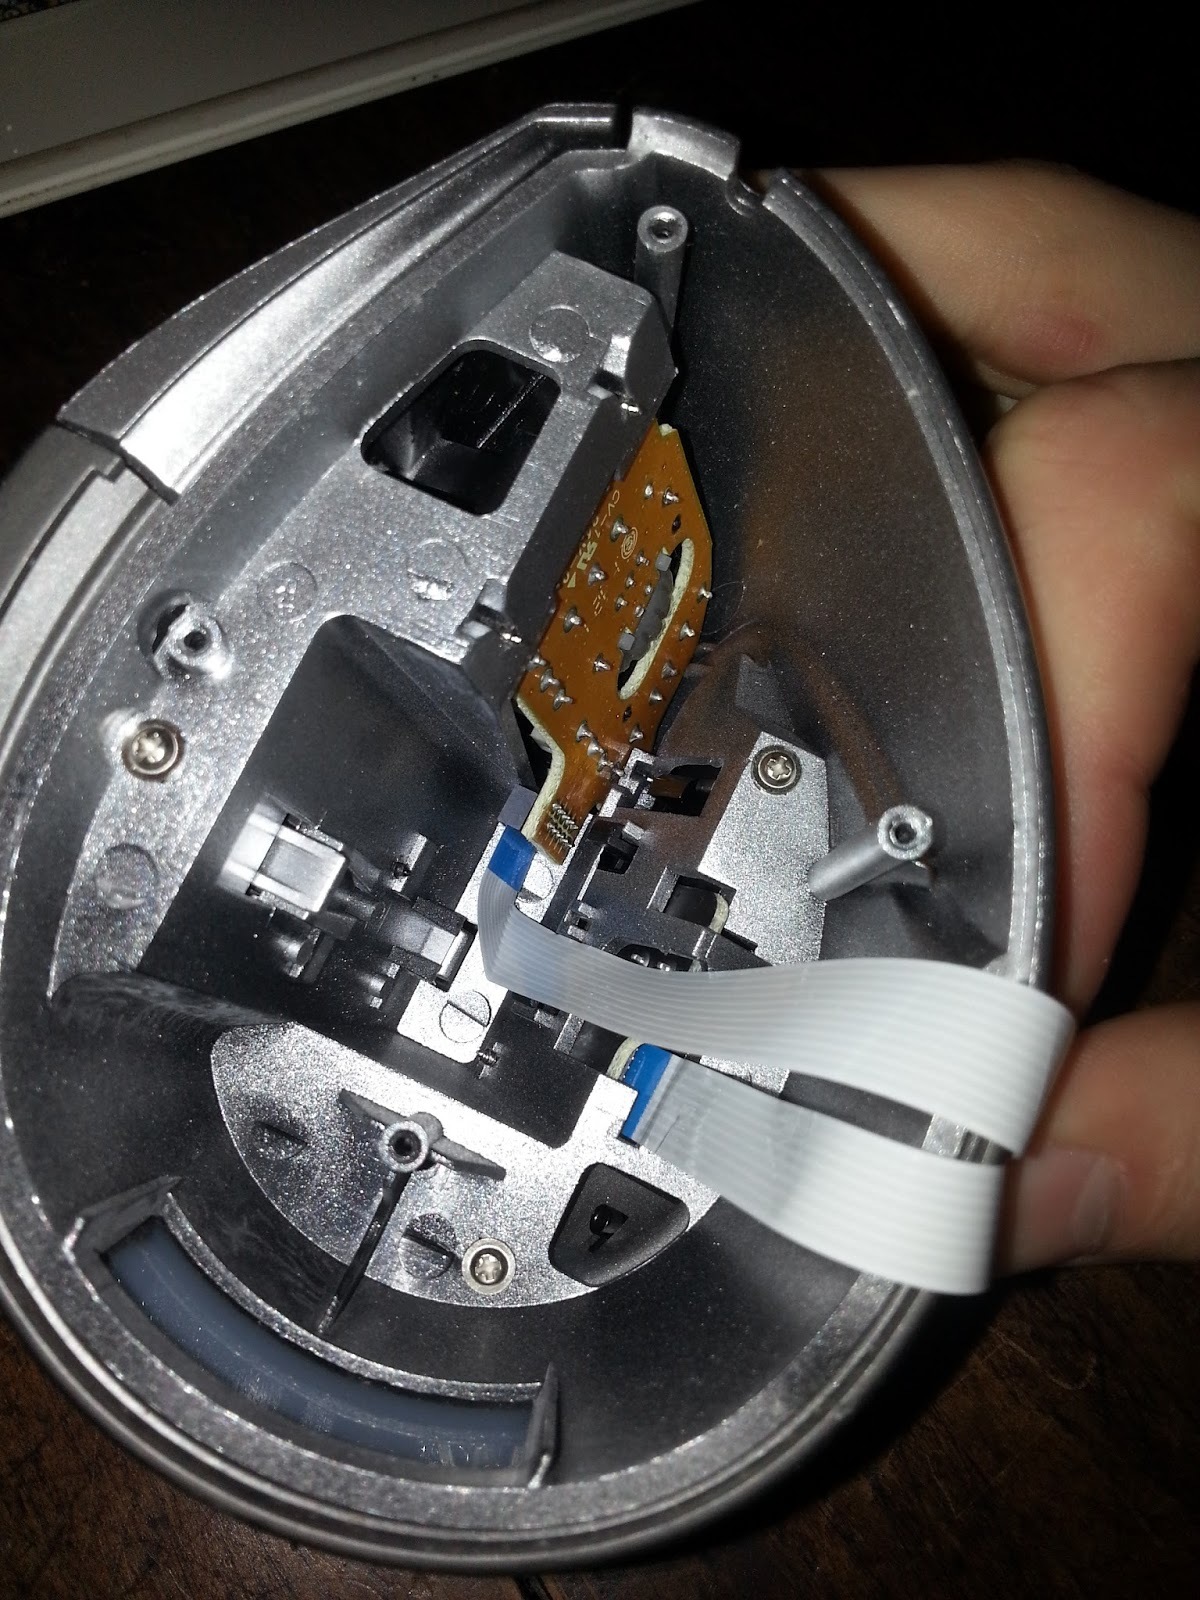
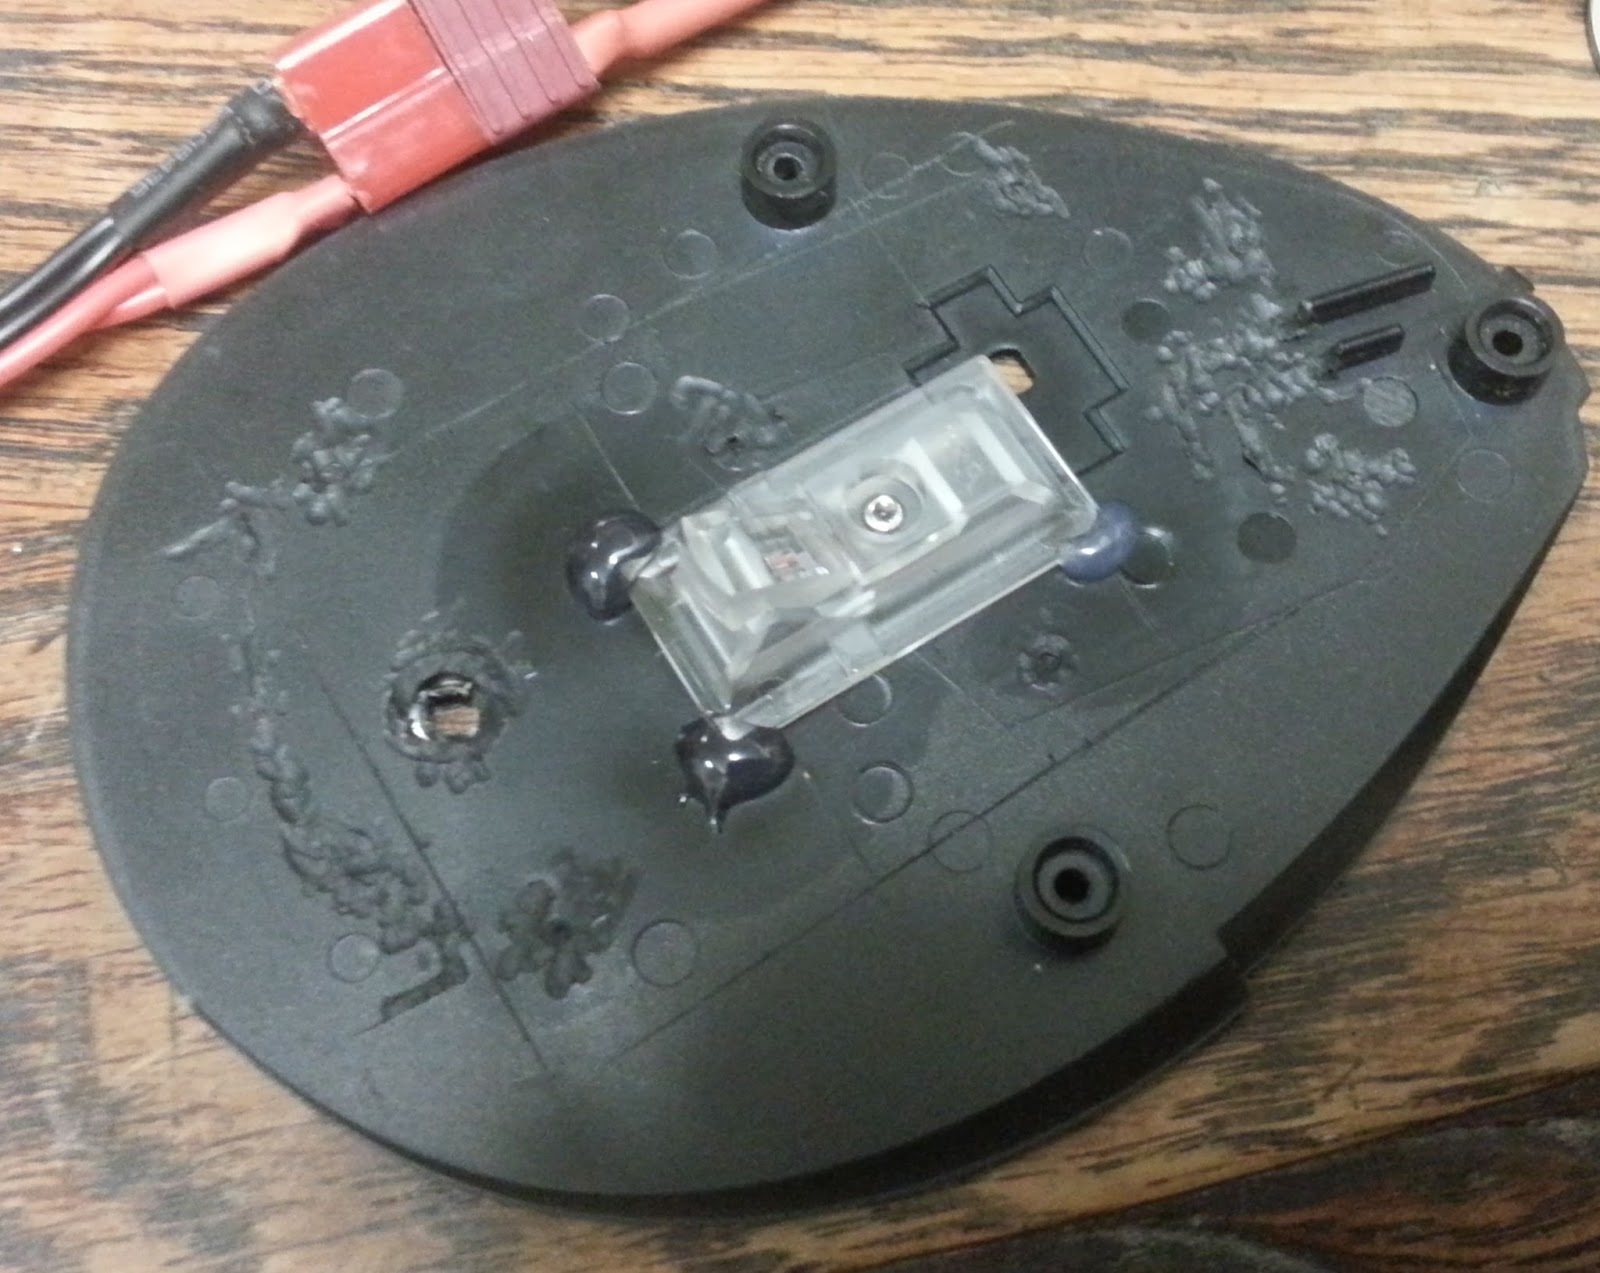
The VM4 comes apart with 4 screws in the bottom:
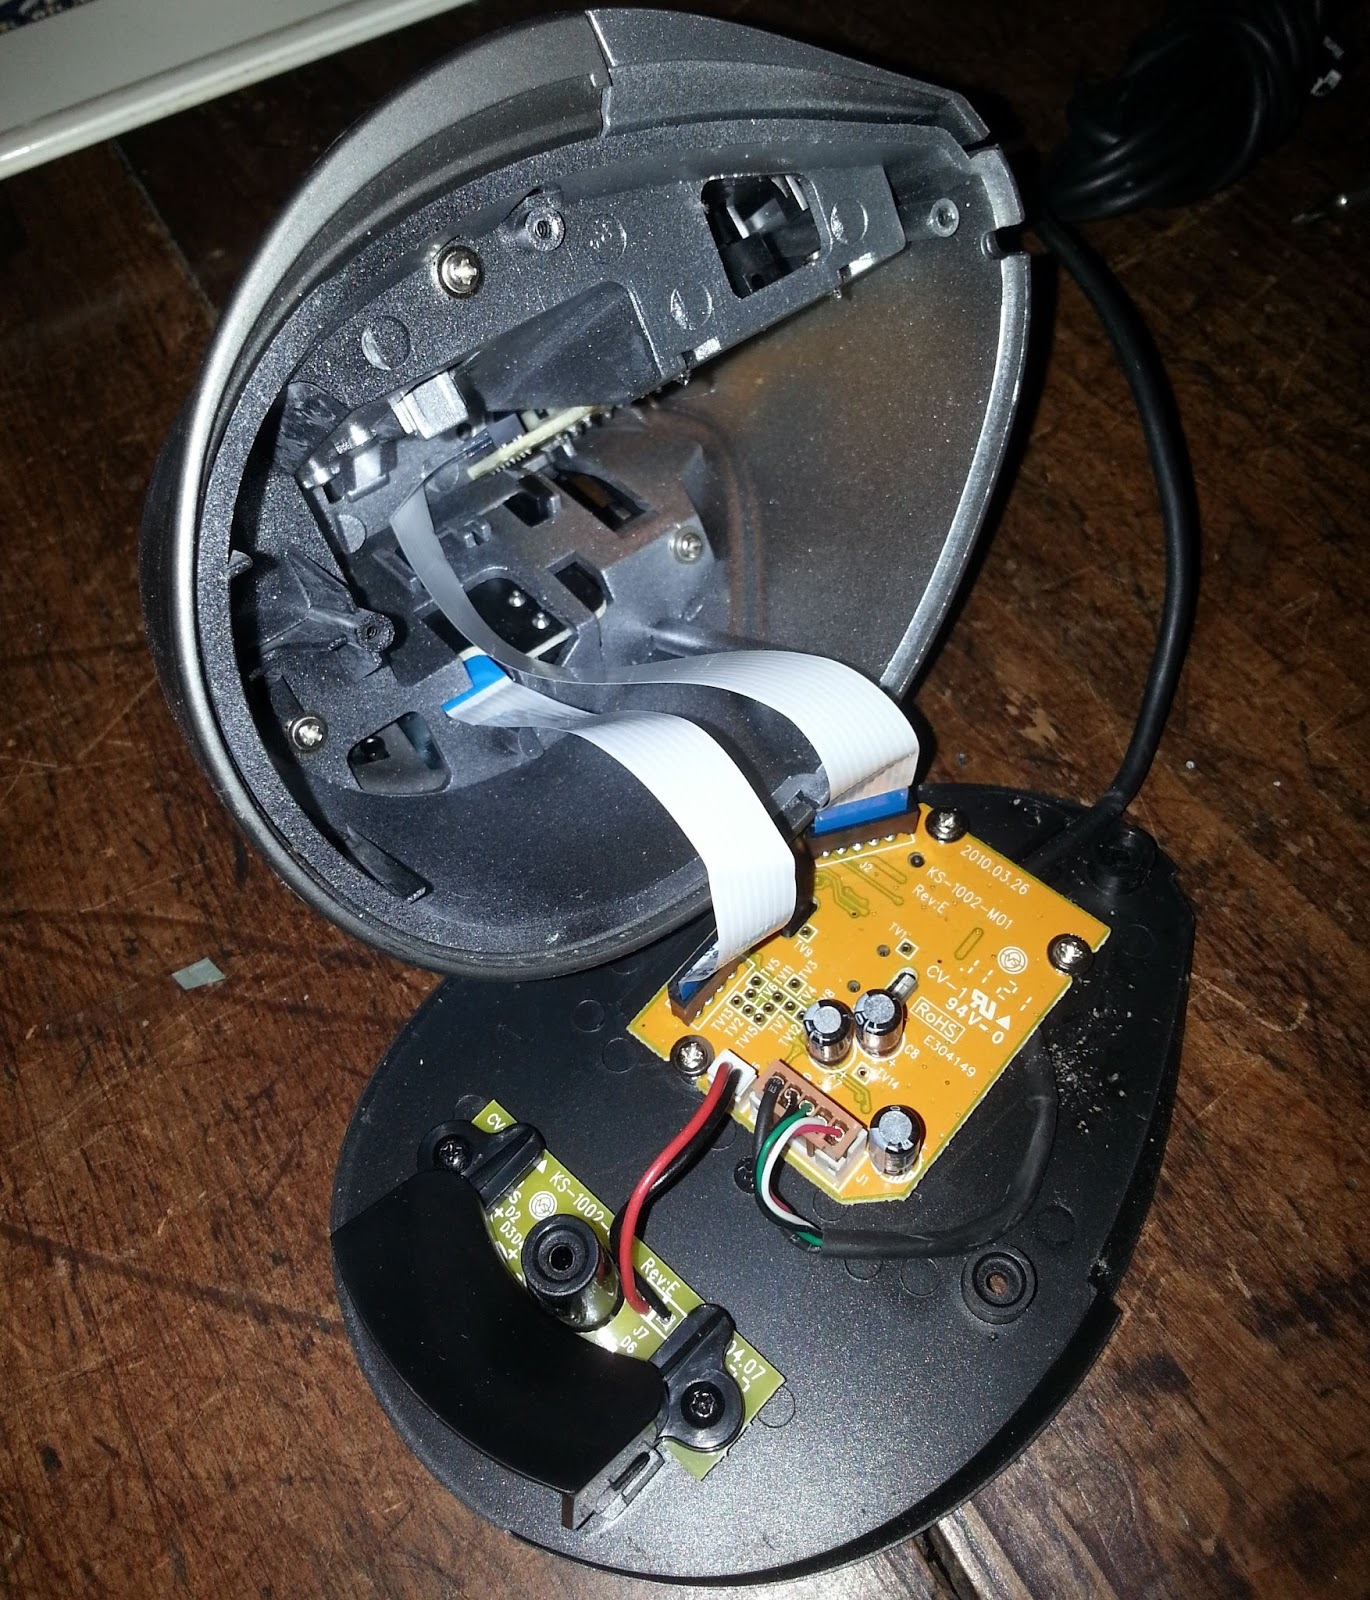
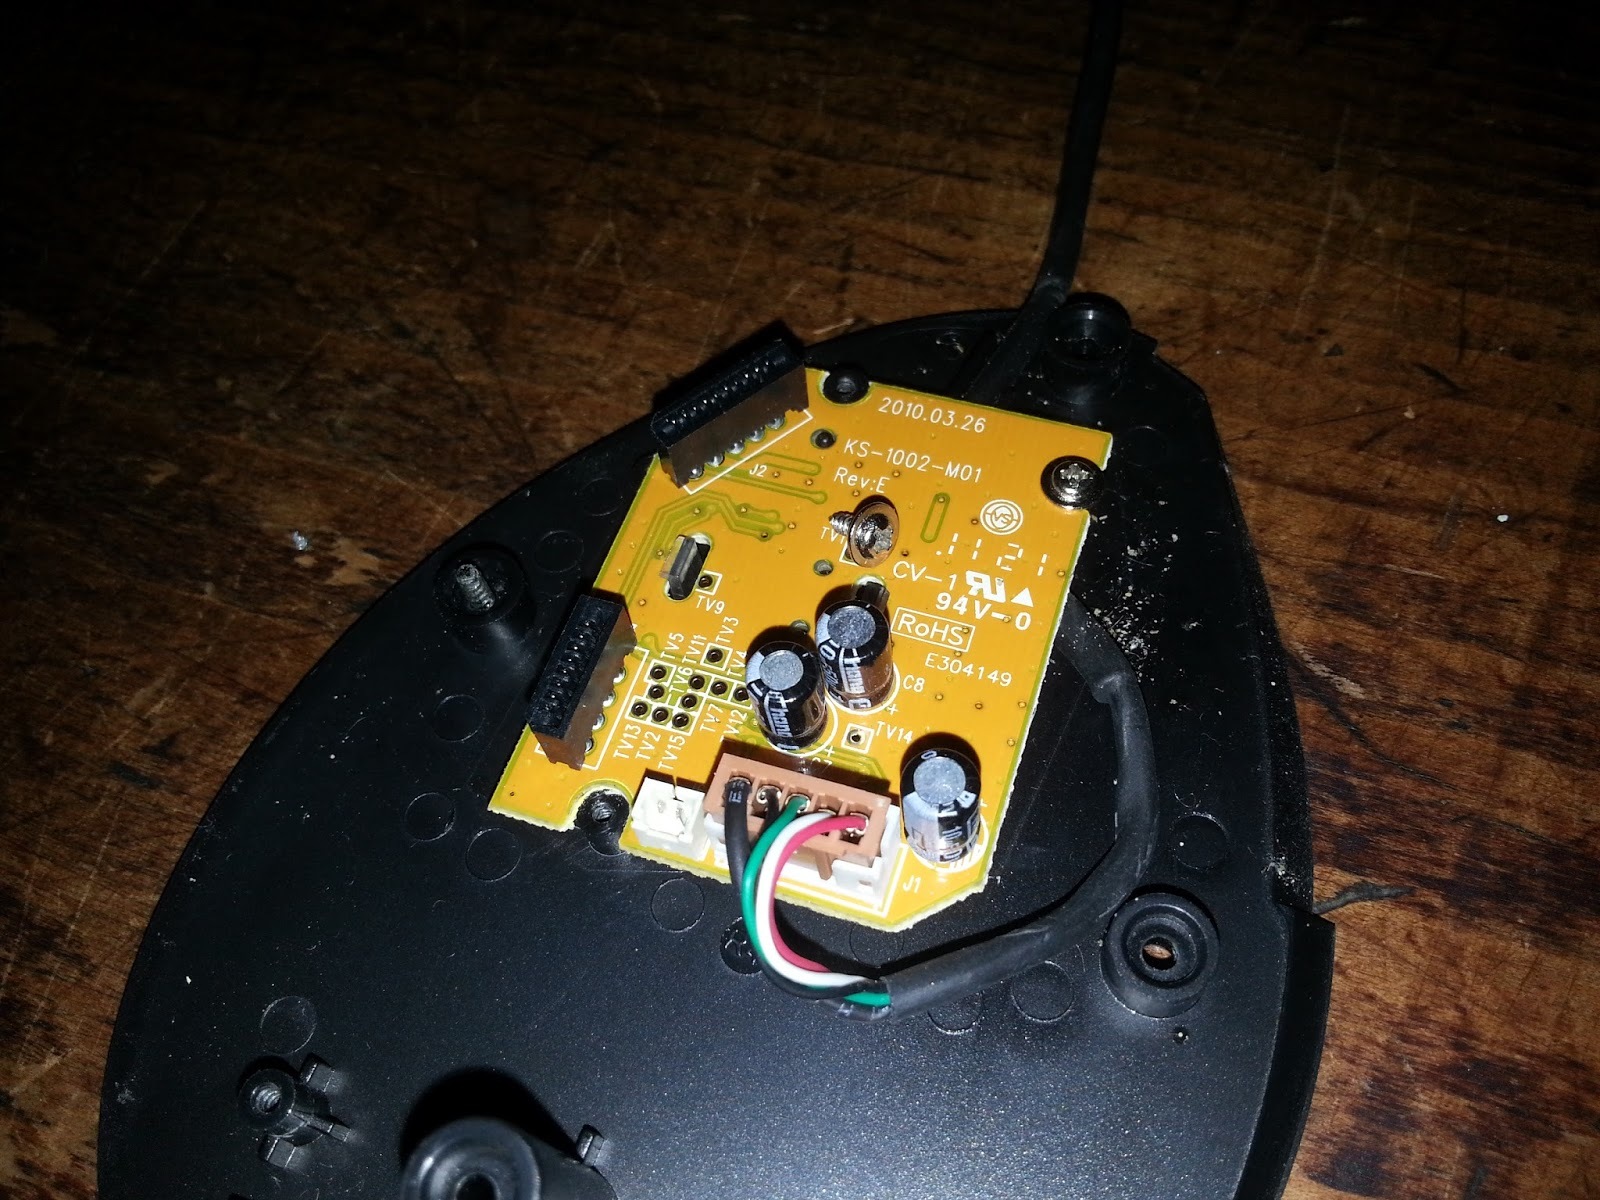
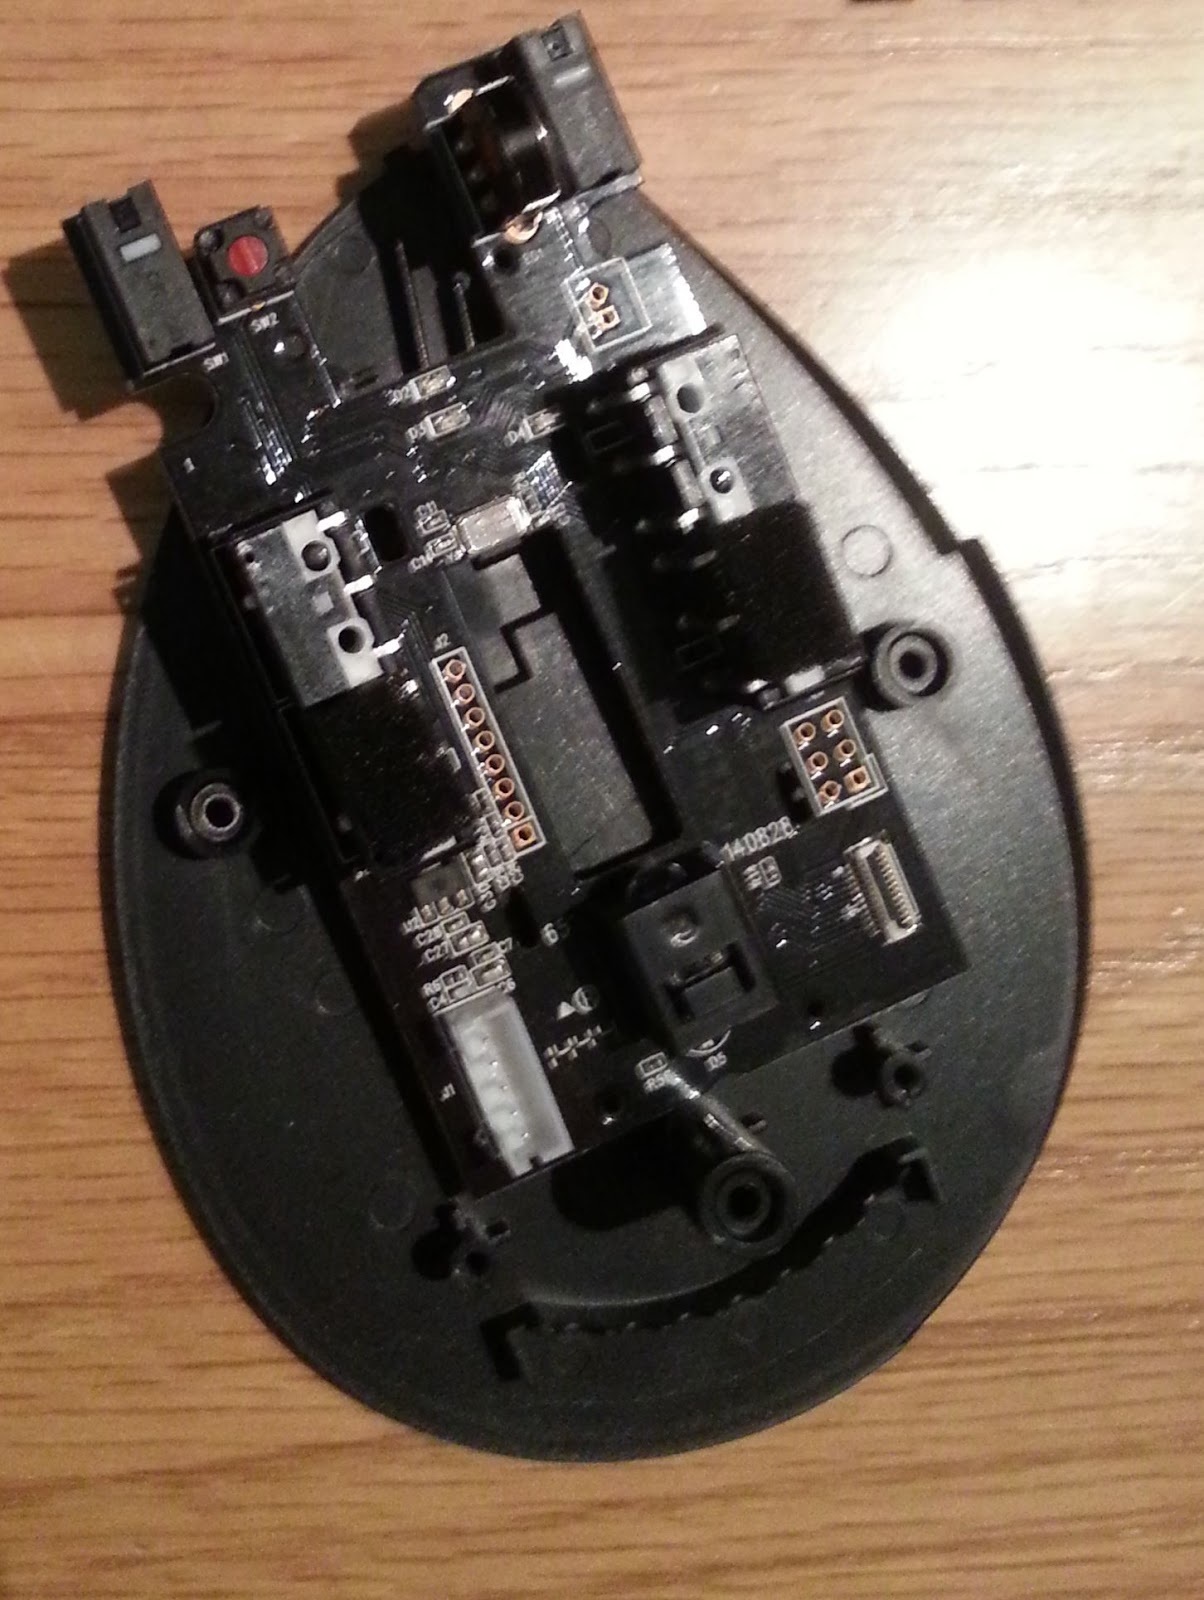
Simple PCB, and the crappy sensor:

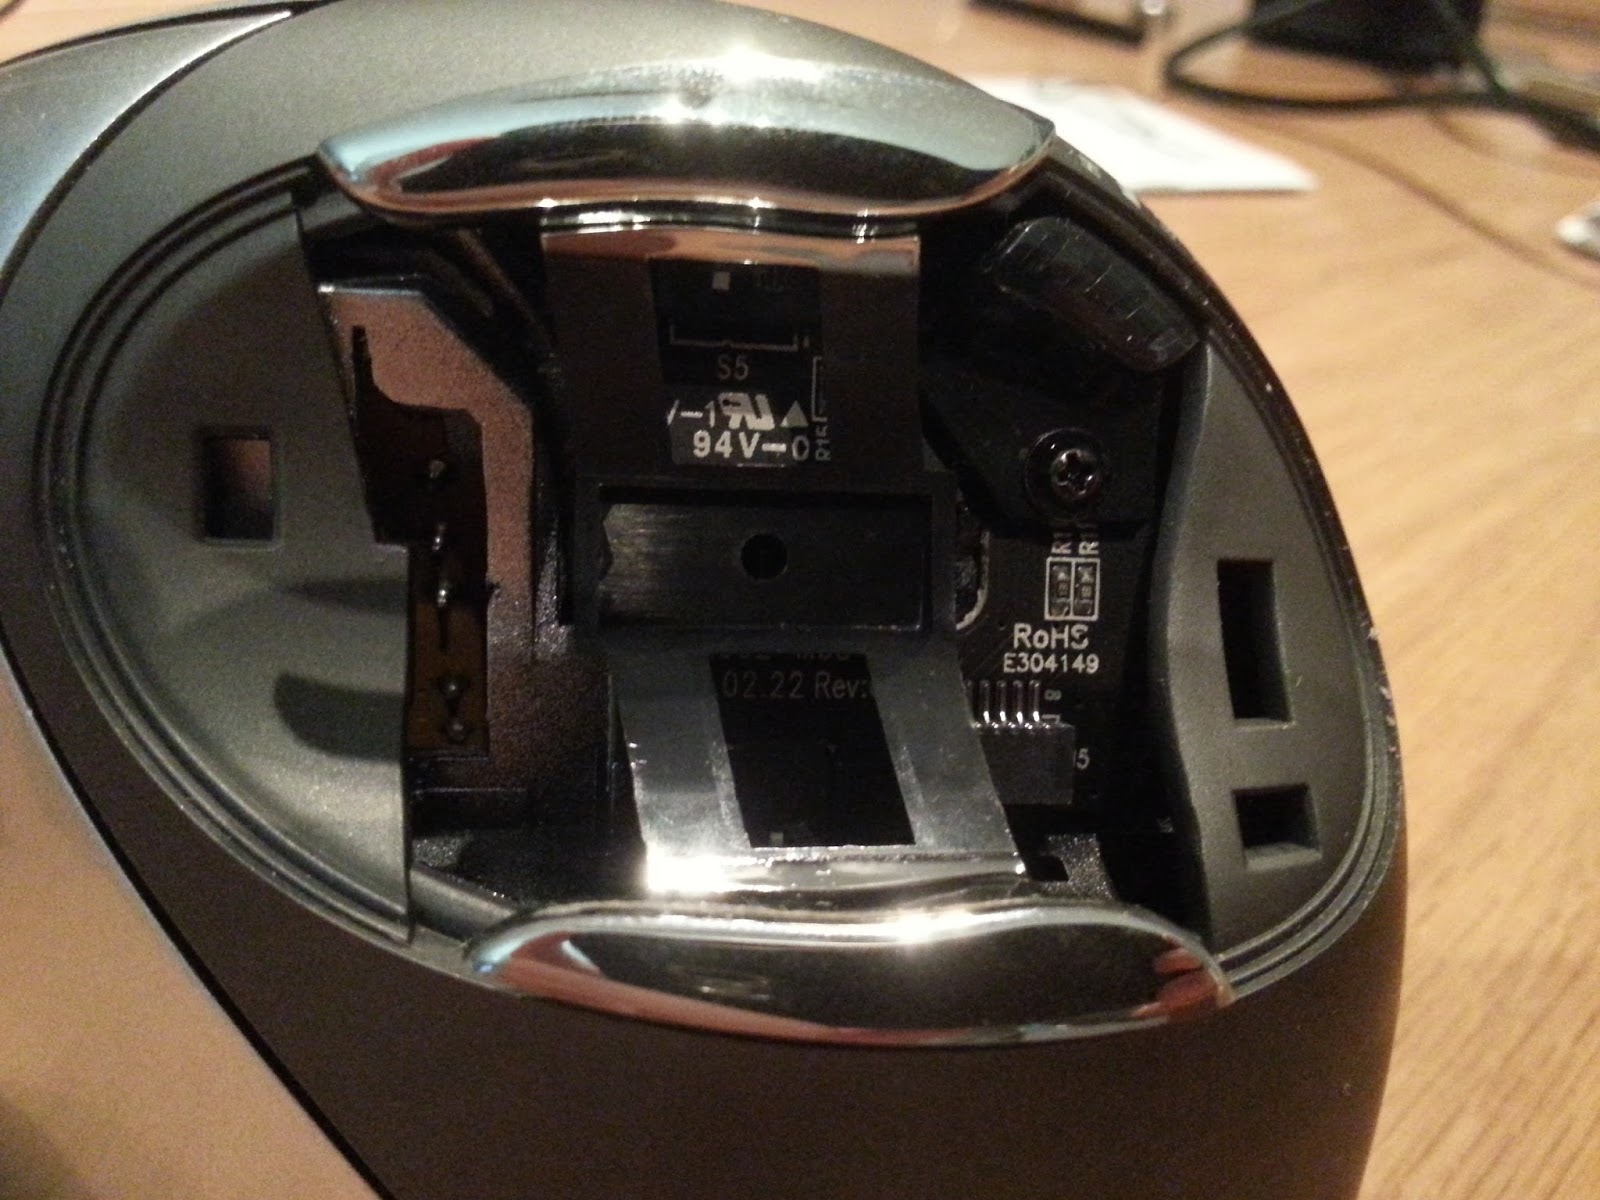
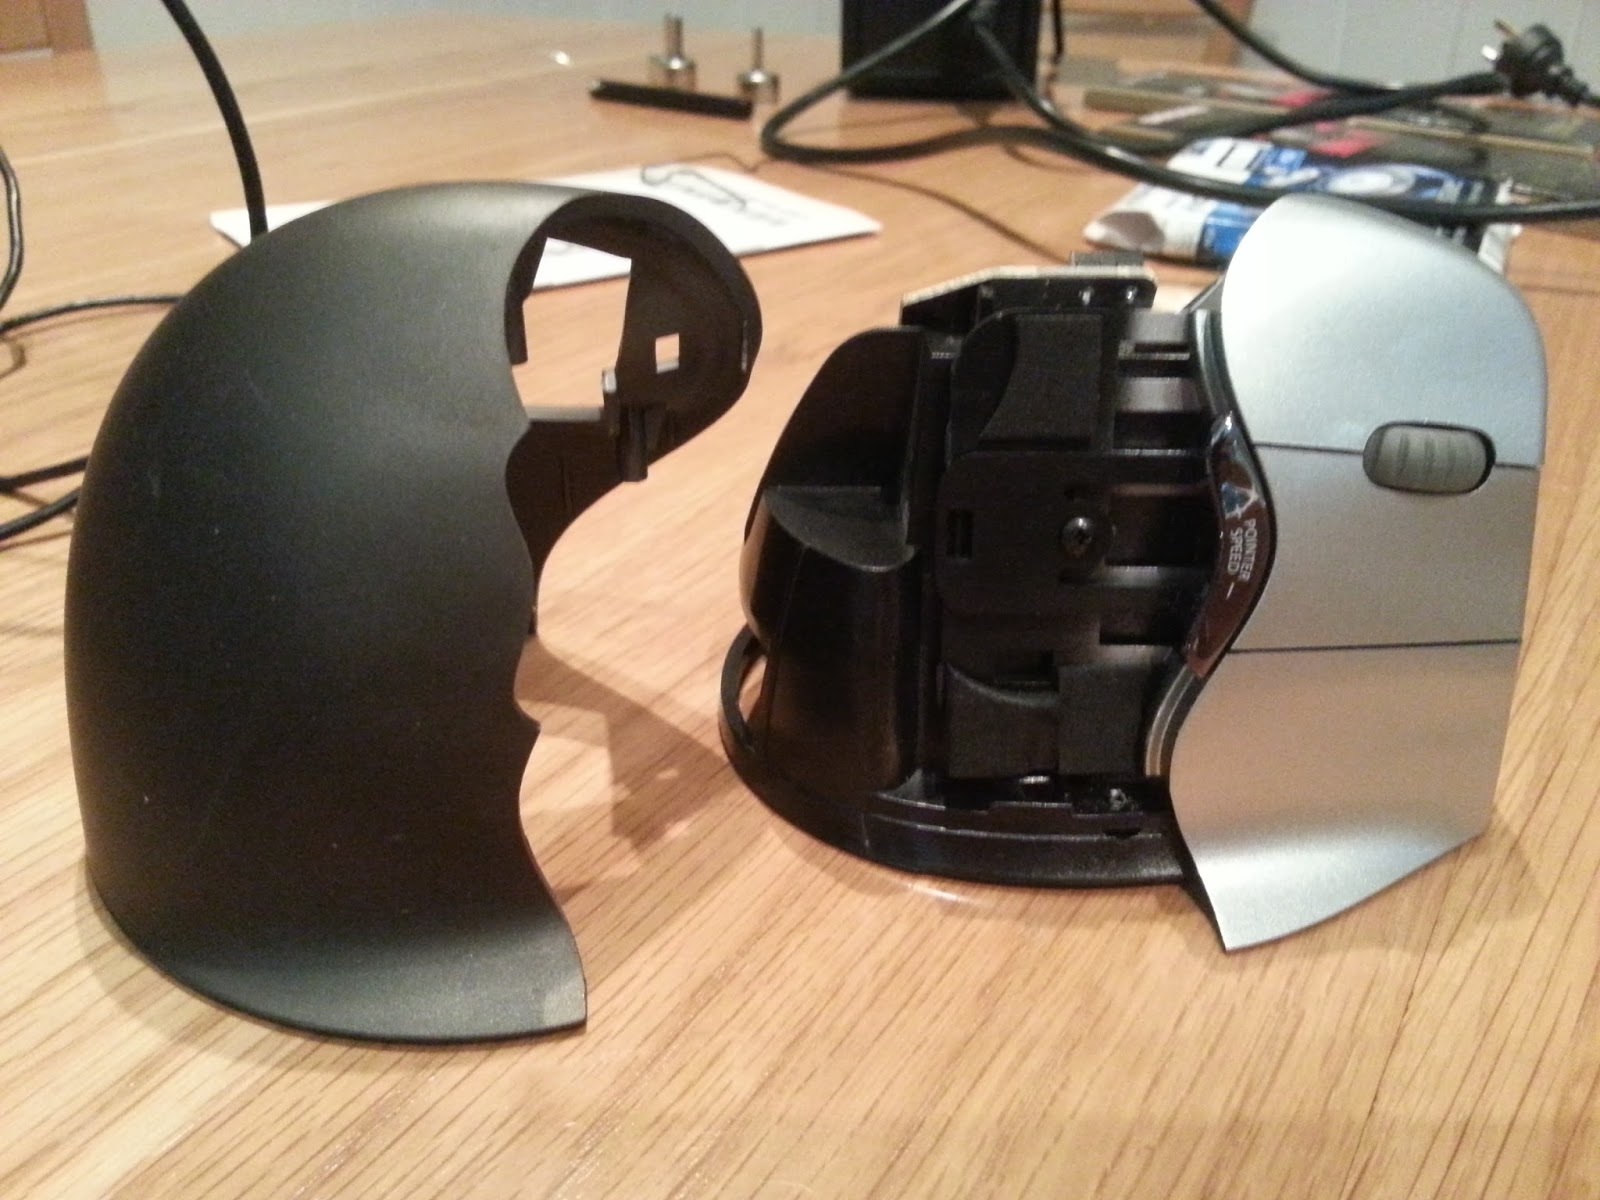
Next you undo all the screws you can see, then fiddle with a large flathead screwdriver until the side pops off. Then you can take the entire shell apart.


Couple more screws and the scrollwheel assembly comes out:
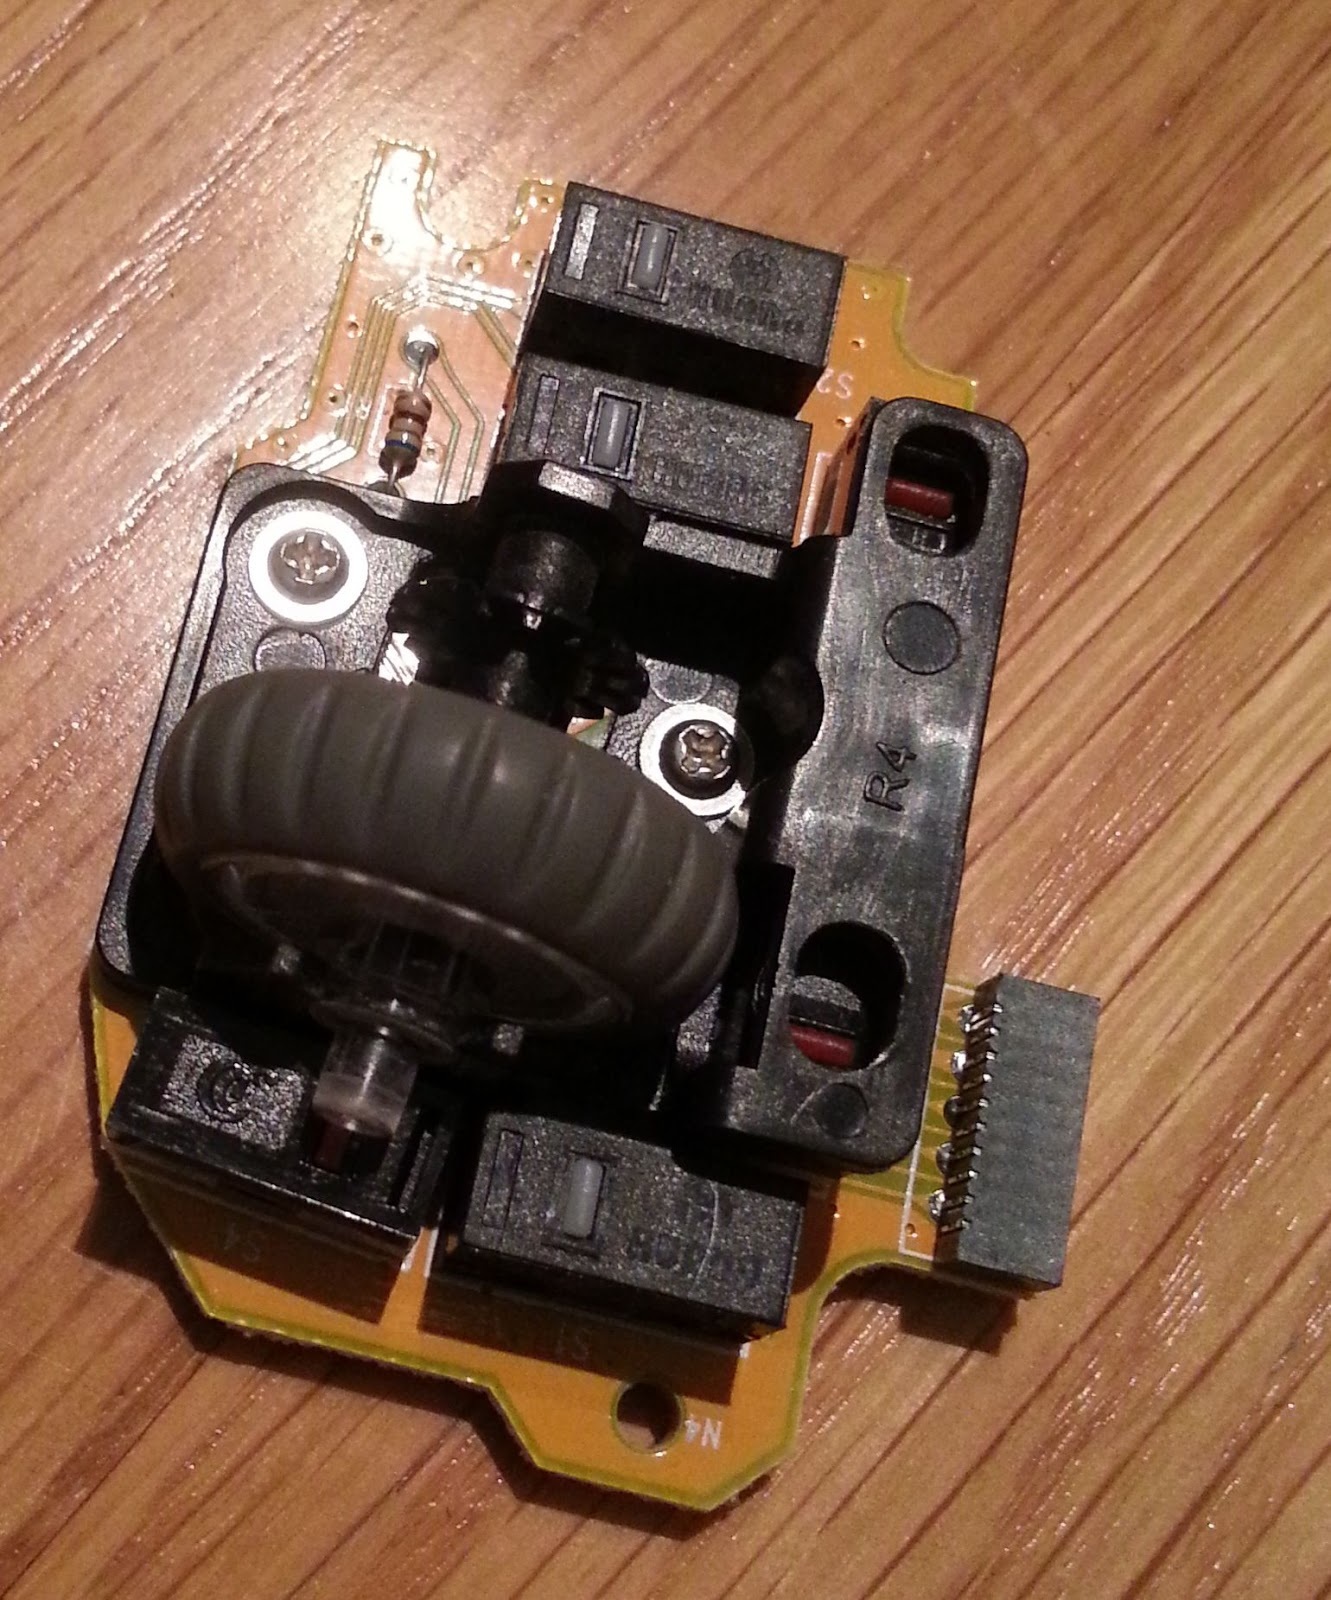
And that’s it!
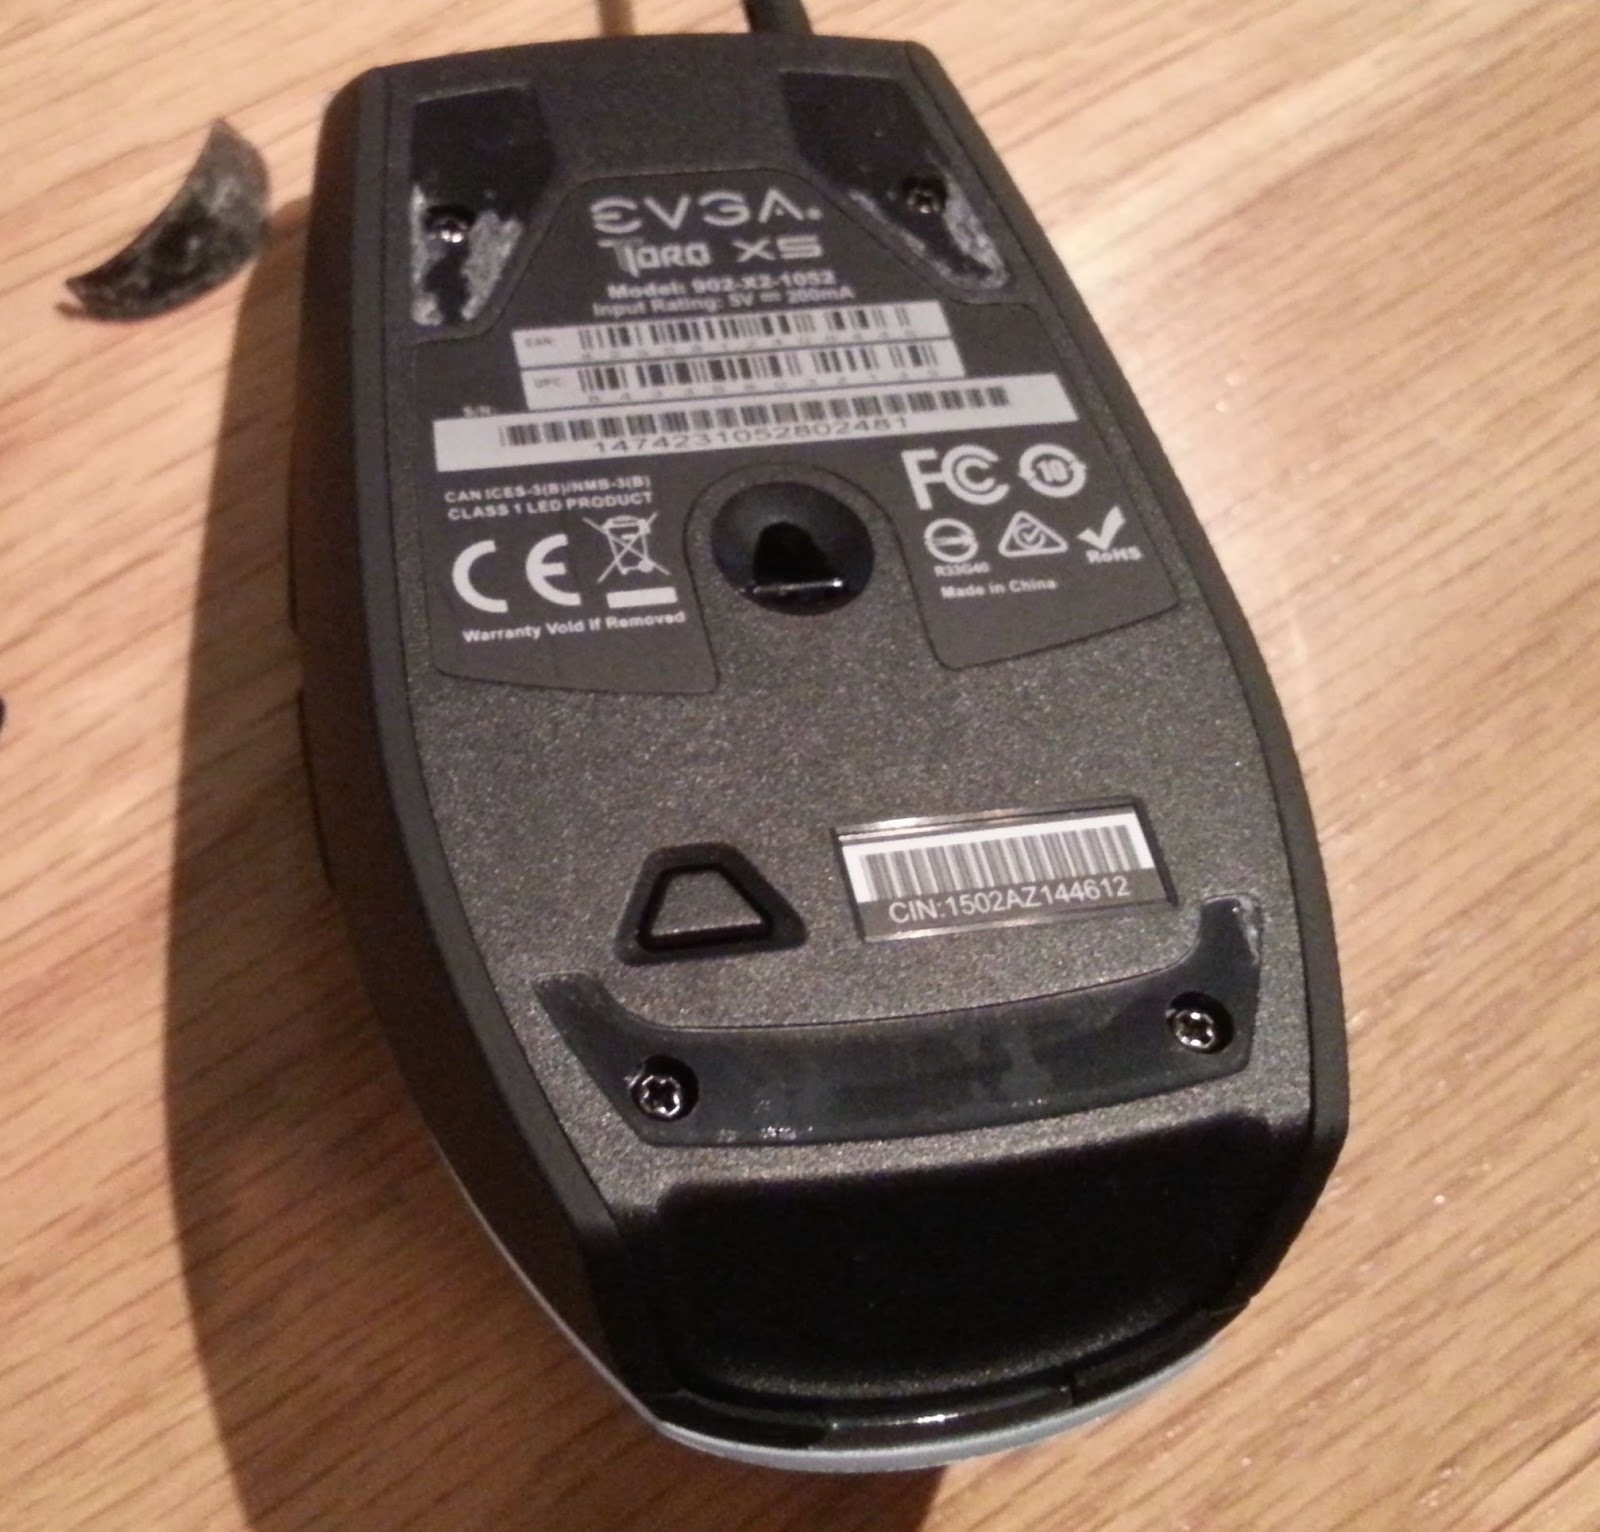
TORQ X5 Disassembly
This one’s really easy. 4 screws hidden under the skids, and the whole body comes apart. Nothing much else to say!
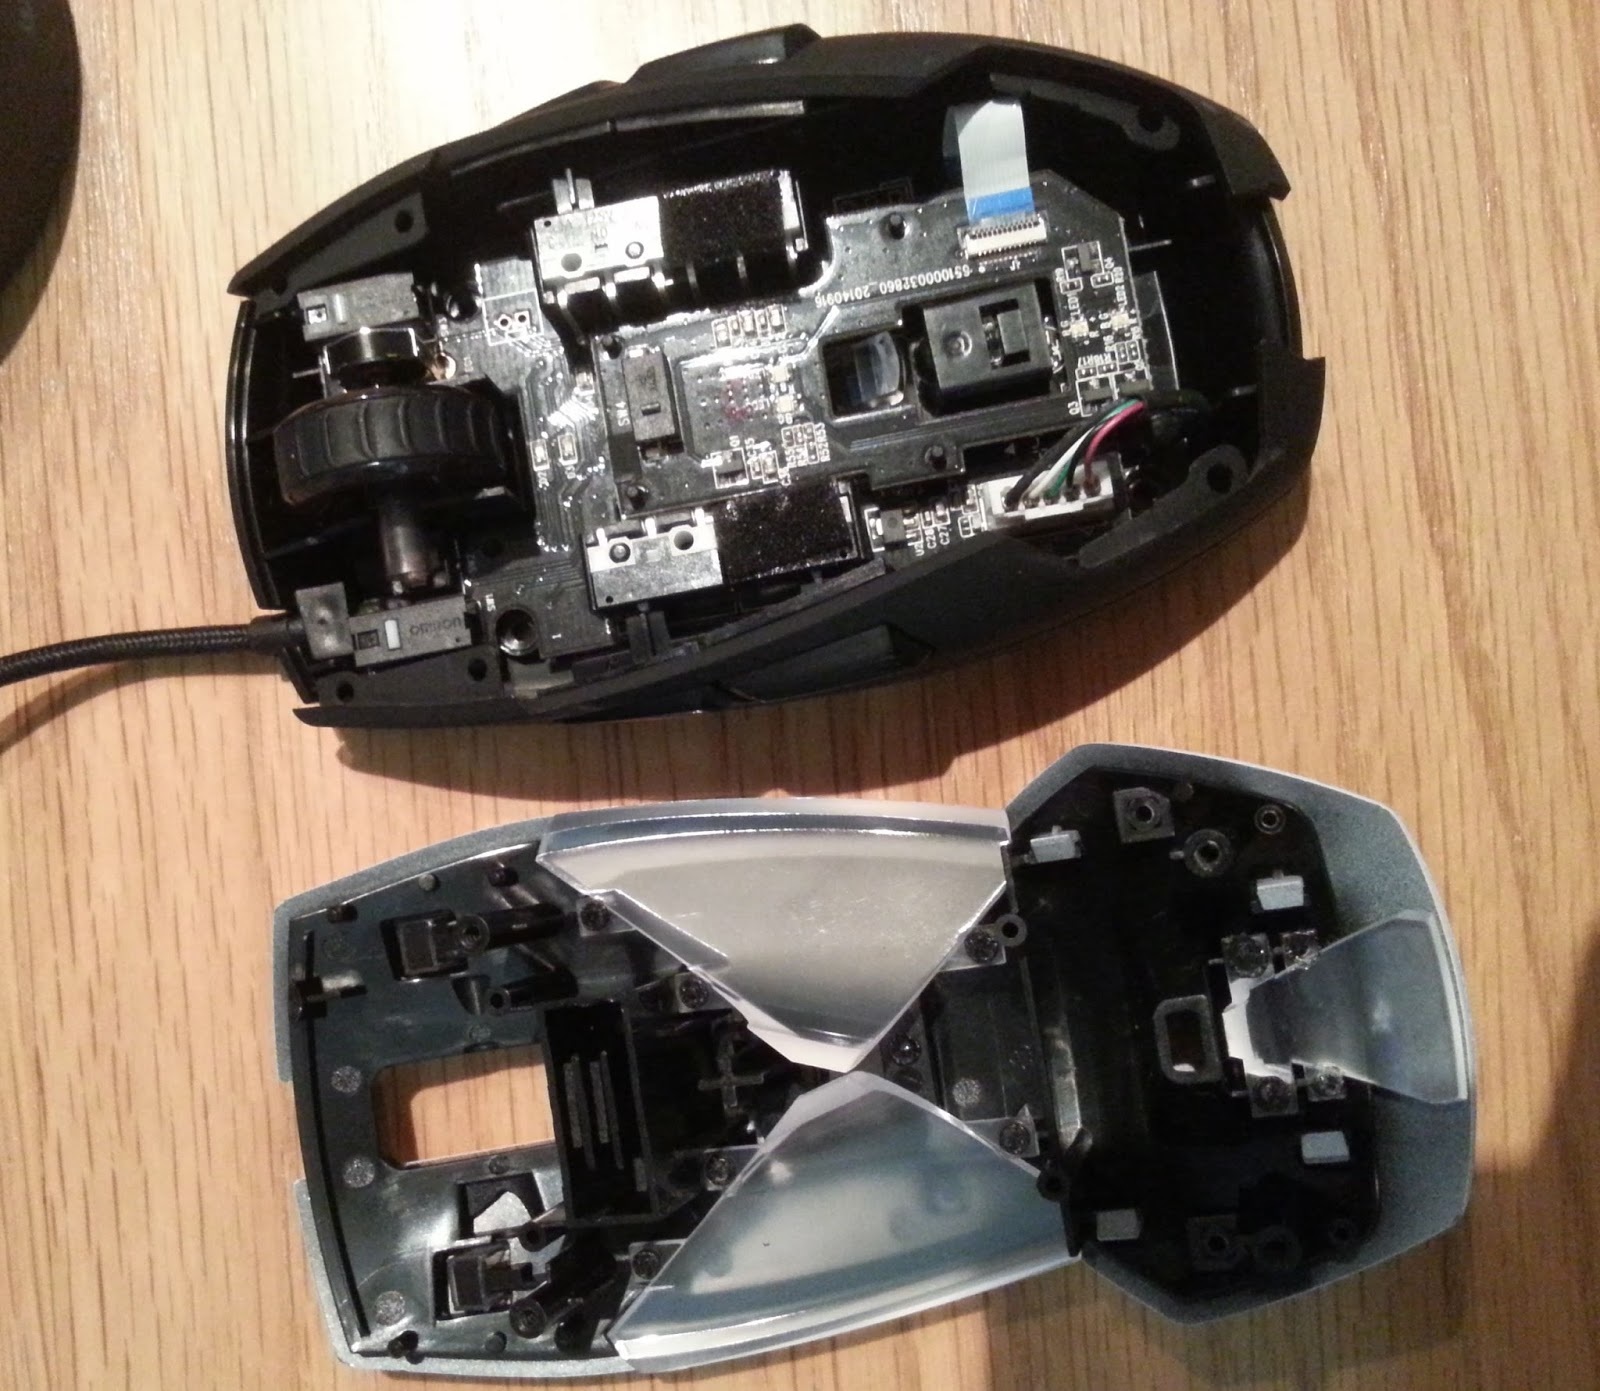
Mmmm, that lovely Pixart.

First attempts
It was clear that the X5 wouldn’t fit inside the body of the VM without cutting off the front.
First mistake: I figured putting the X5 scrollwheel inside the VM4 would be a brilliant idea. WRONG. The 2 wheel assemblies are completely different, and to get it to fit I ruined the middle click actuation of the mouse. Learn from my mistakes. I then purchased my second VM4, with a horrible exterior but working interior parts to salvage.

The new bashed up donor:
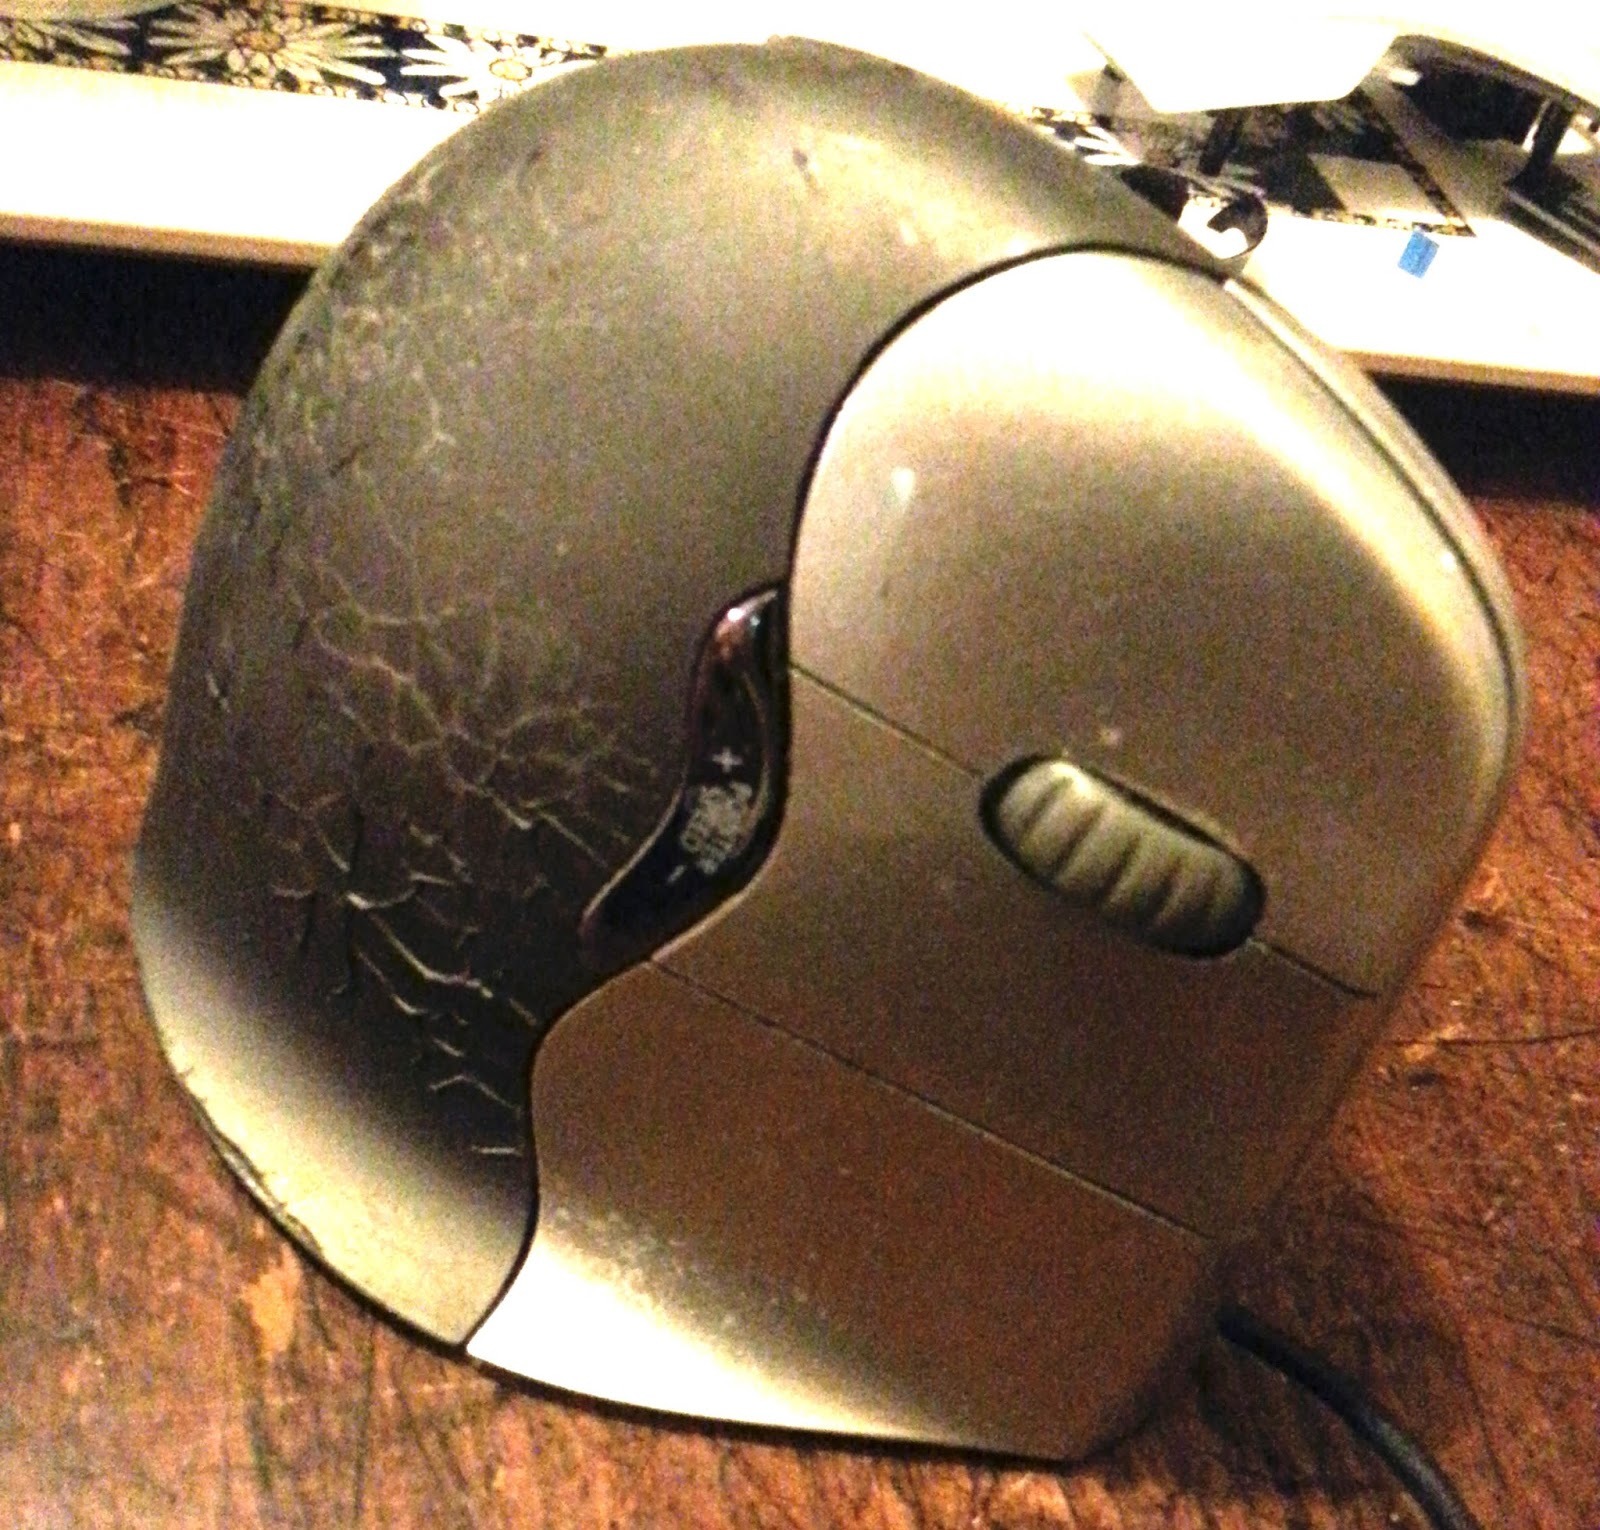
Was this left out in the sun? Weird wear.
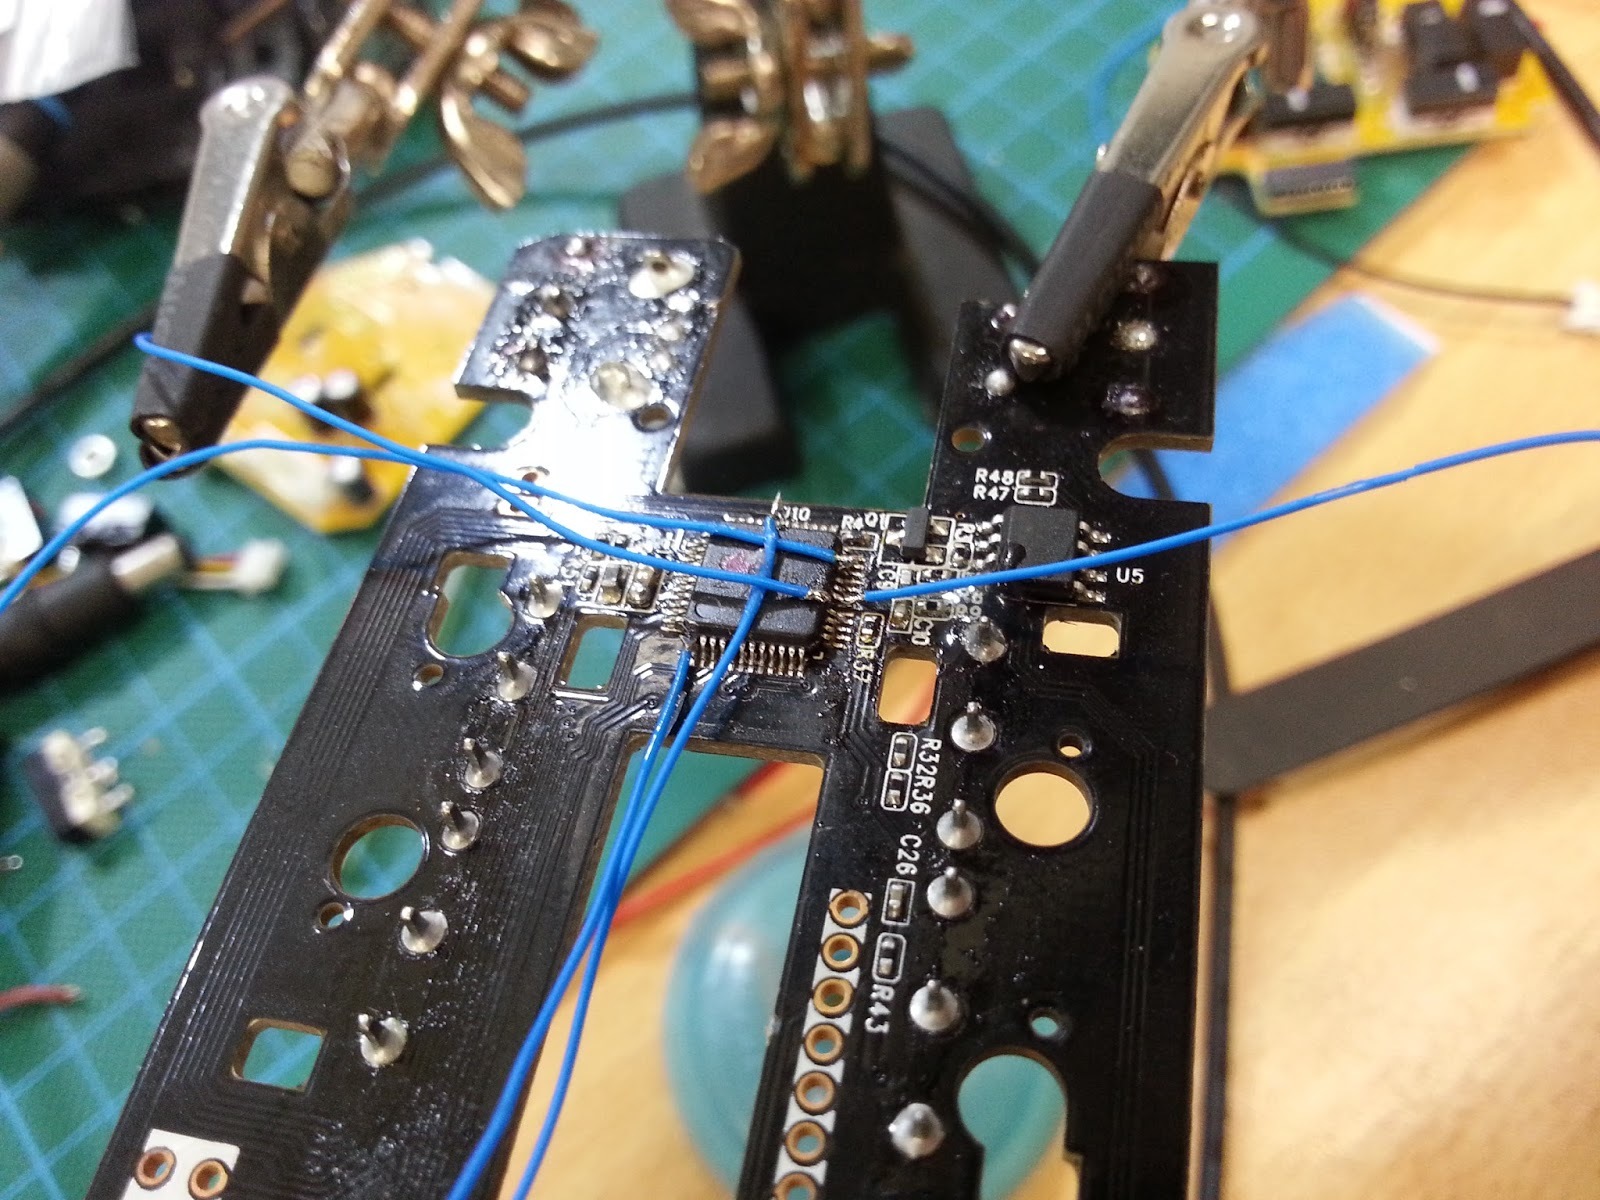
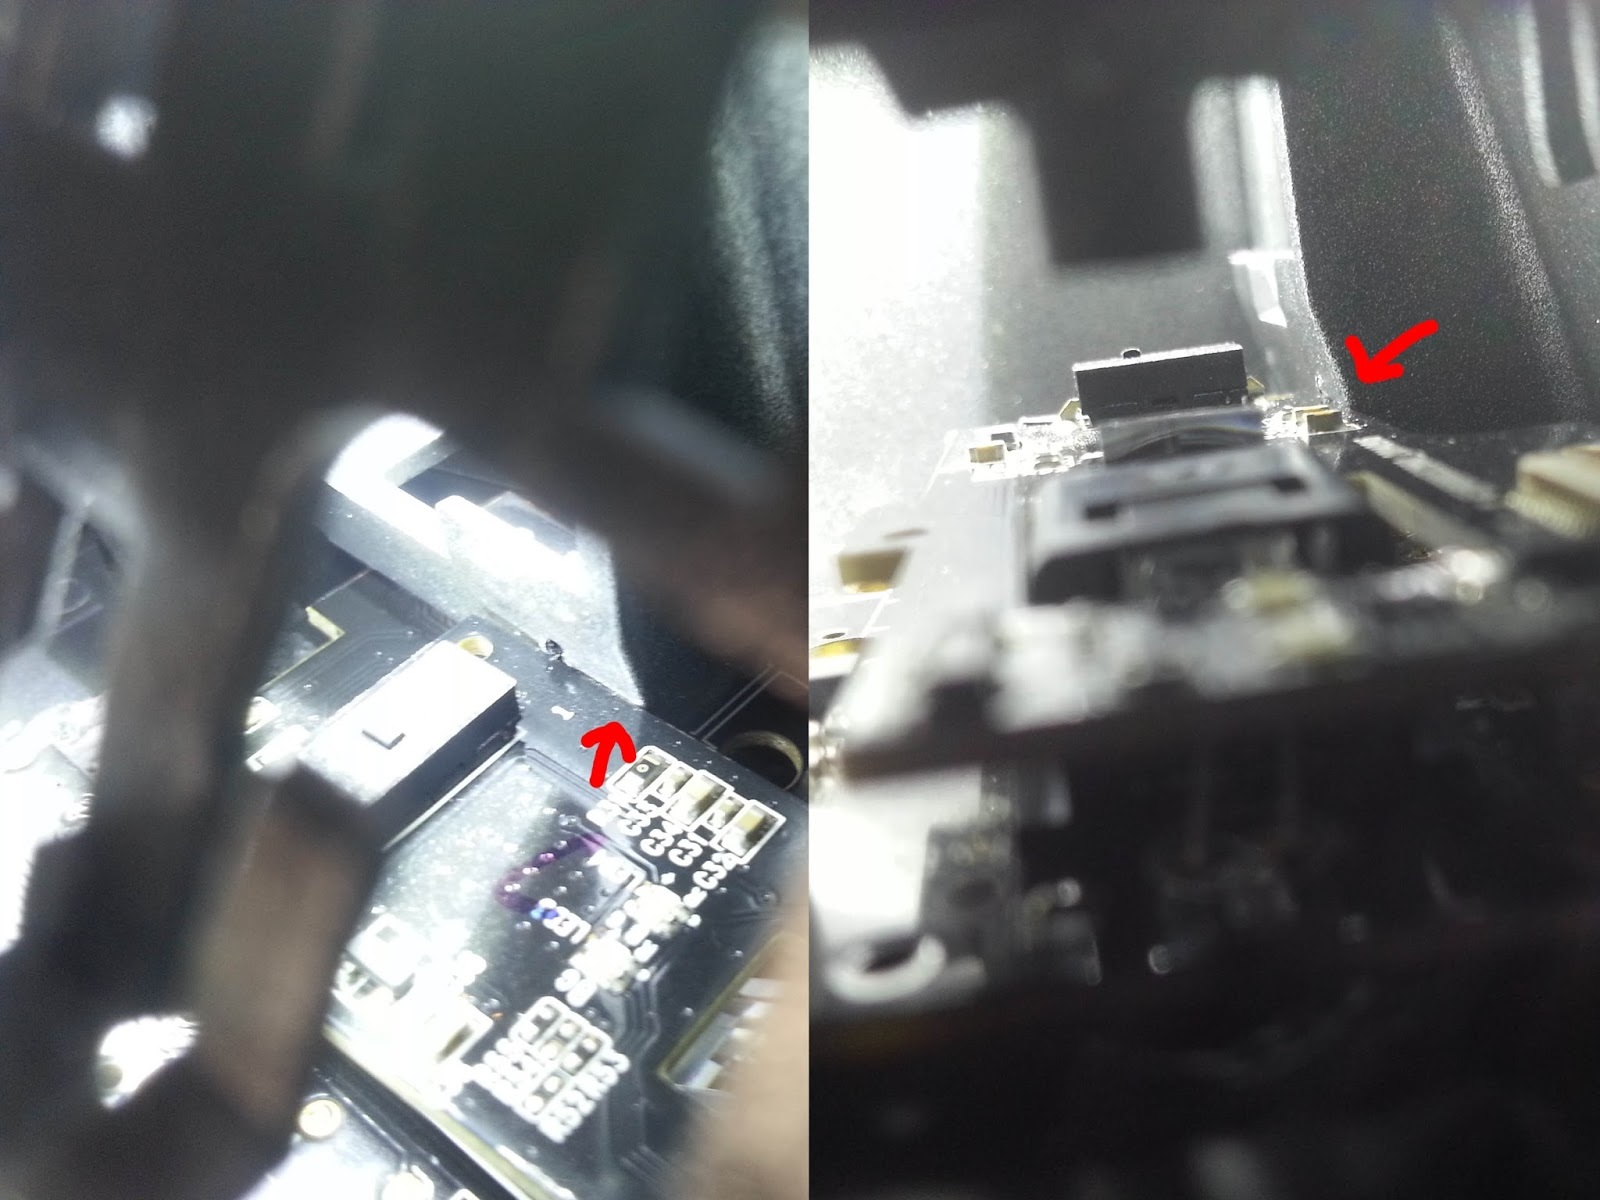
So, to the next failure. I have to cut the front off the X5 to make it fit. The buttons live on the front. Thus, I have to wire jumpers on the microcontroller. Individually. With several right next to each other. I wasted hours on this. I even used a hot air gun to take the entire MCU off the board, bend certain pins up, and resolder it. In doing so I busted the mouse3 pin, which meant I had to map two buttons to the same pin. What a disaster!

PCB surgery: soldering_skills++; sanity--.
Not pictured here is the soldered ribbon cable adapter, after I painstakingly mapped all the VM4 pins to their functions. After all this, I plugged it in… And it worked! …Except for the scroll wheel. Turns out, mechanical scroll wheels (X5) don’t put out the same signals as IR scroll wheel (VM4). I practically gave up at this point, and the project was dead for several weeks, until my hand got sore enough to look back into it.
Final Success
After failing to shove VM4 bits into the X5, I had a stroke of genius - why not use the X5 board just as a sensor, the VM4 board just for buttons, and put a USB hub in there? $2 and 2 weeks later, my 4 port eBay hub arrived. I forgot to take a before when it had all 4 ports, but the extra 2 snapped off with no problems:
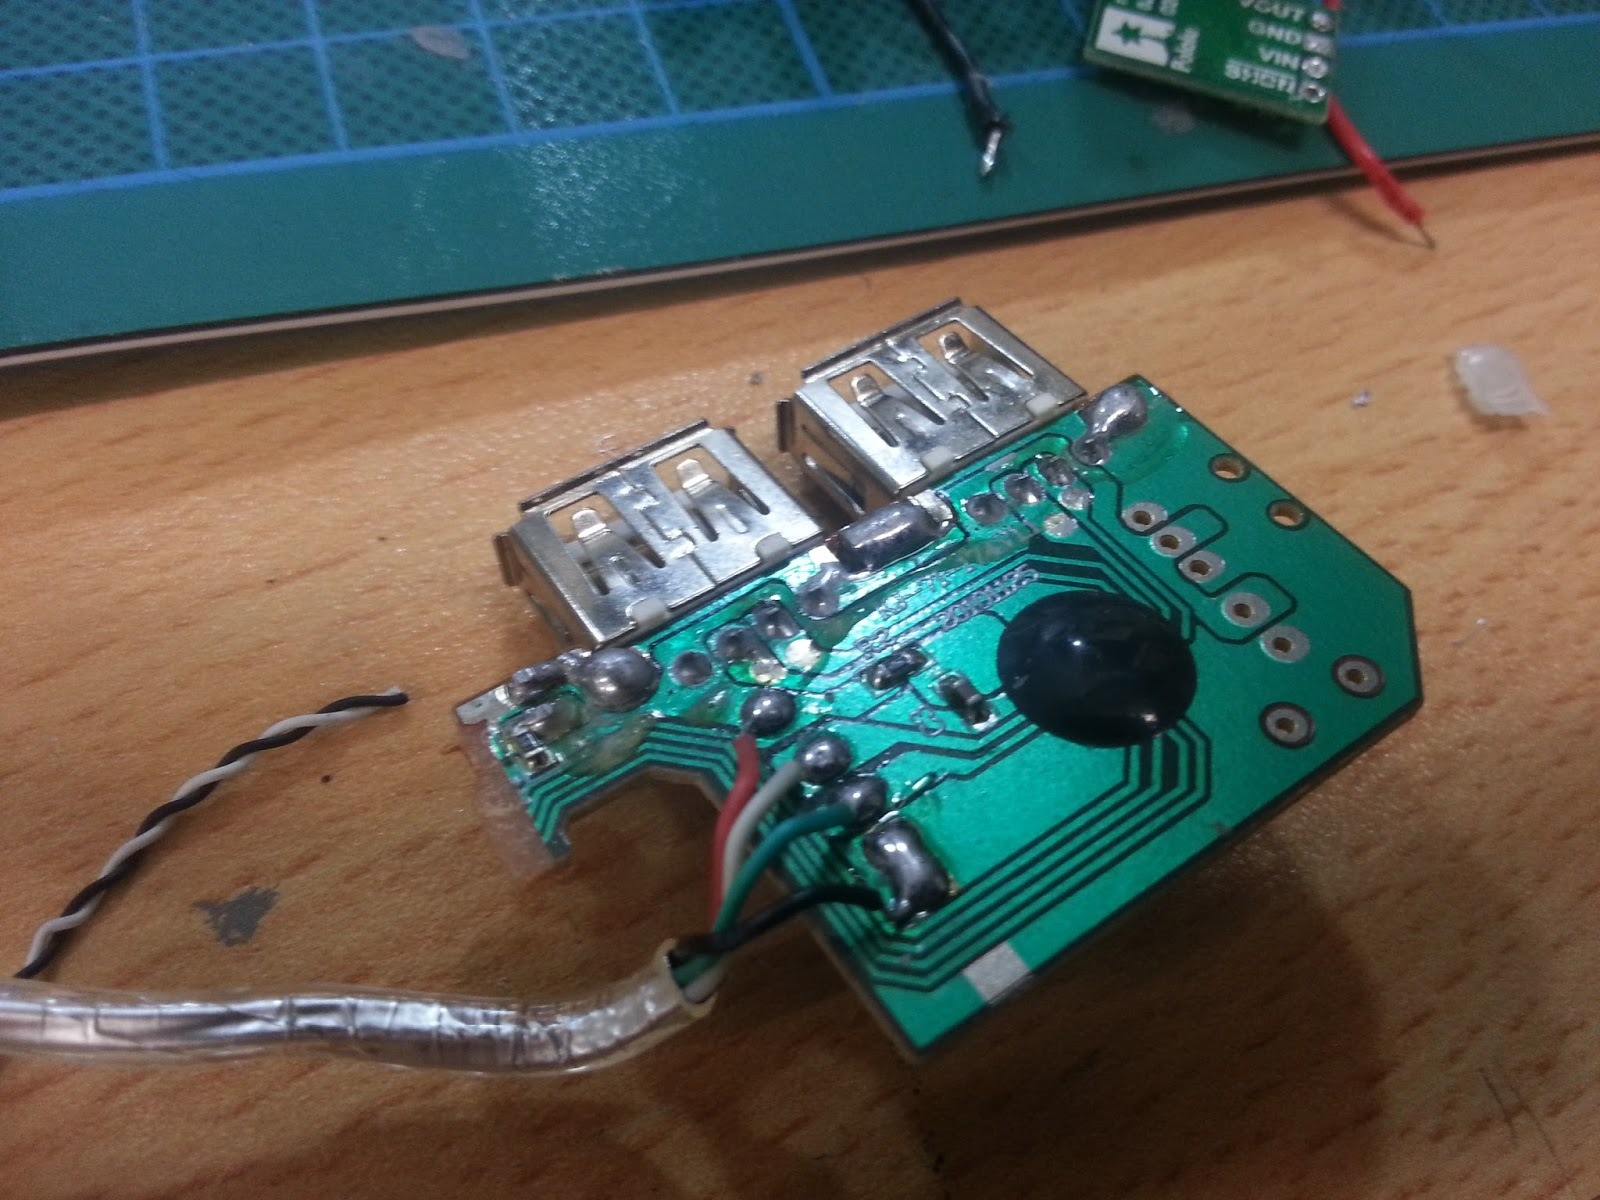
From there it was a simple matter of desoldering the USB ports and hardwiring all the relevant mice connectors to the board:
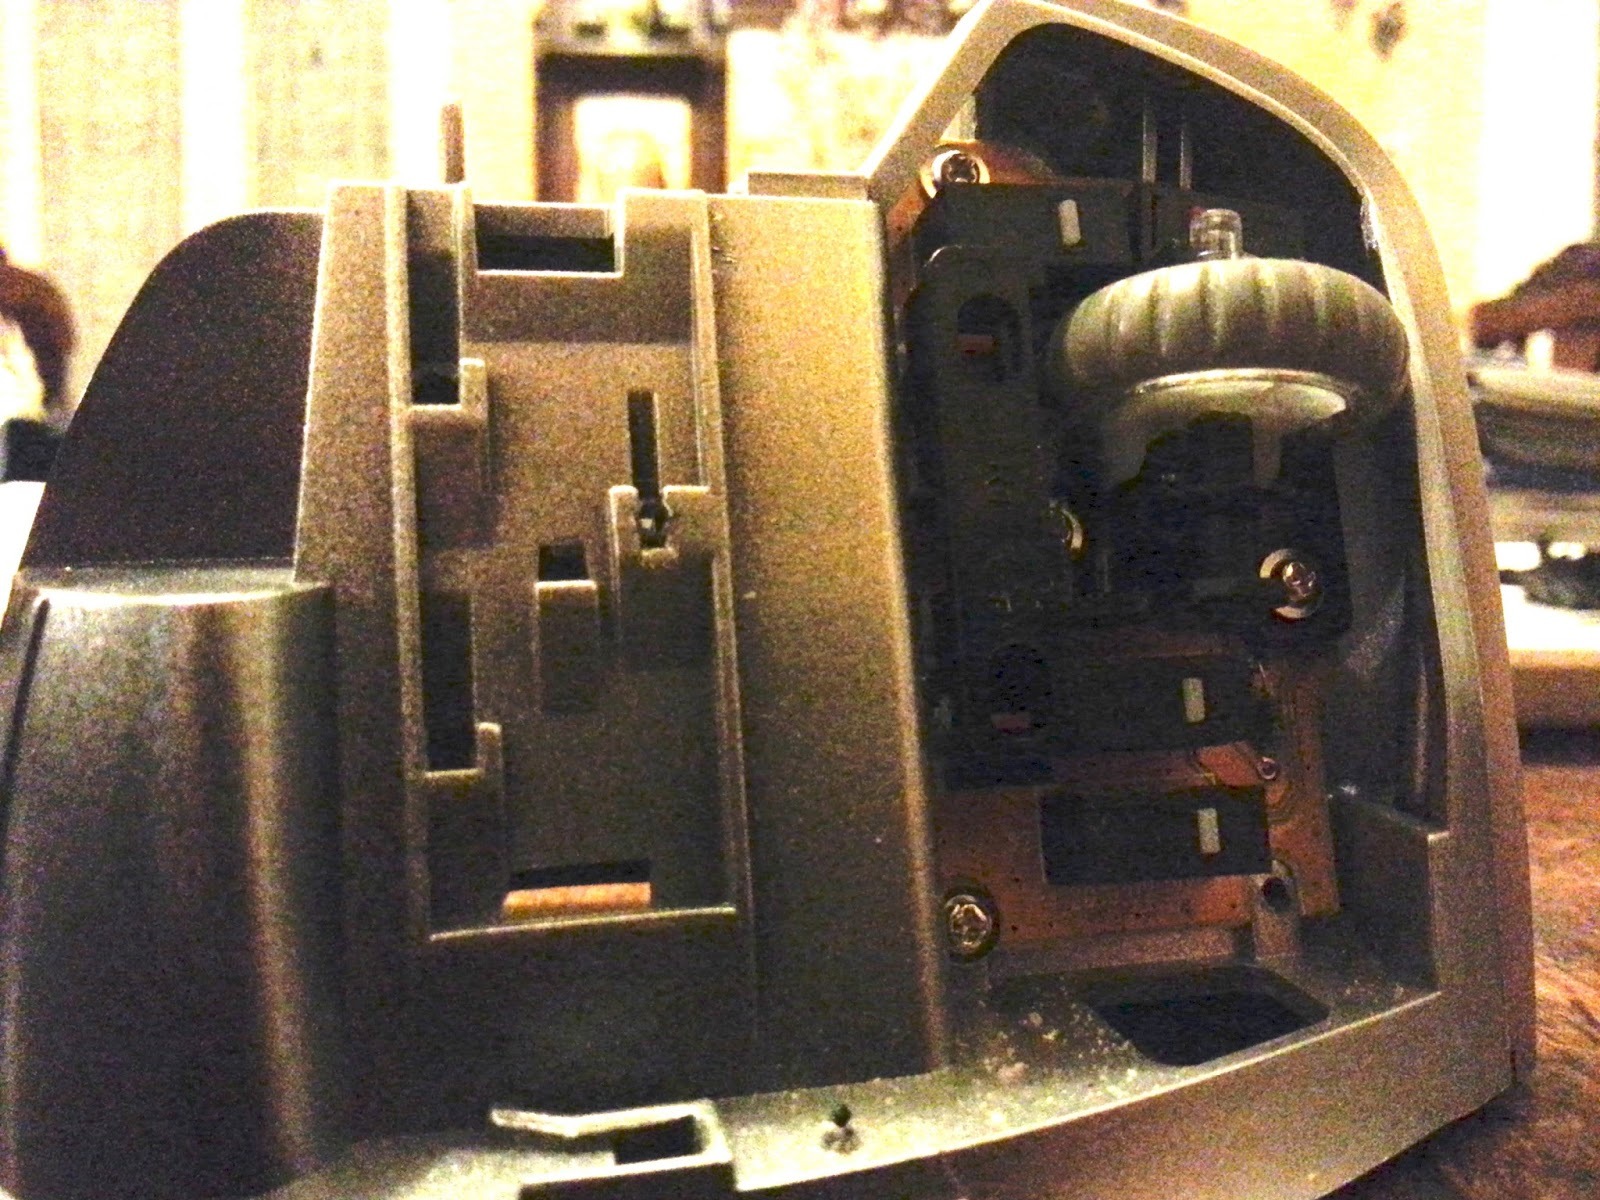
With a solution finally in place, I went ahead and cut the front off the X5 PCB, scribed its outline, dremeled a hole for the lens, and dremeled a bunch of plastic off the VM4 case so the PCB would lay flat. Add a bit of hot glue to the lens and you’re set:

Because the sensor fits to the lens quite solidly, no extra glue is required. I had to reposition the PCB once, as it initially collided with the top half of the shell. After the move it’s a tight fit:
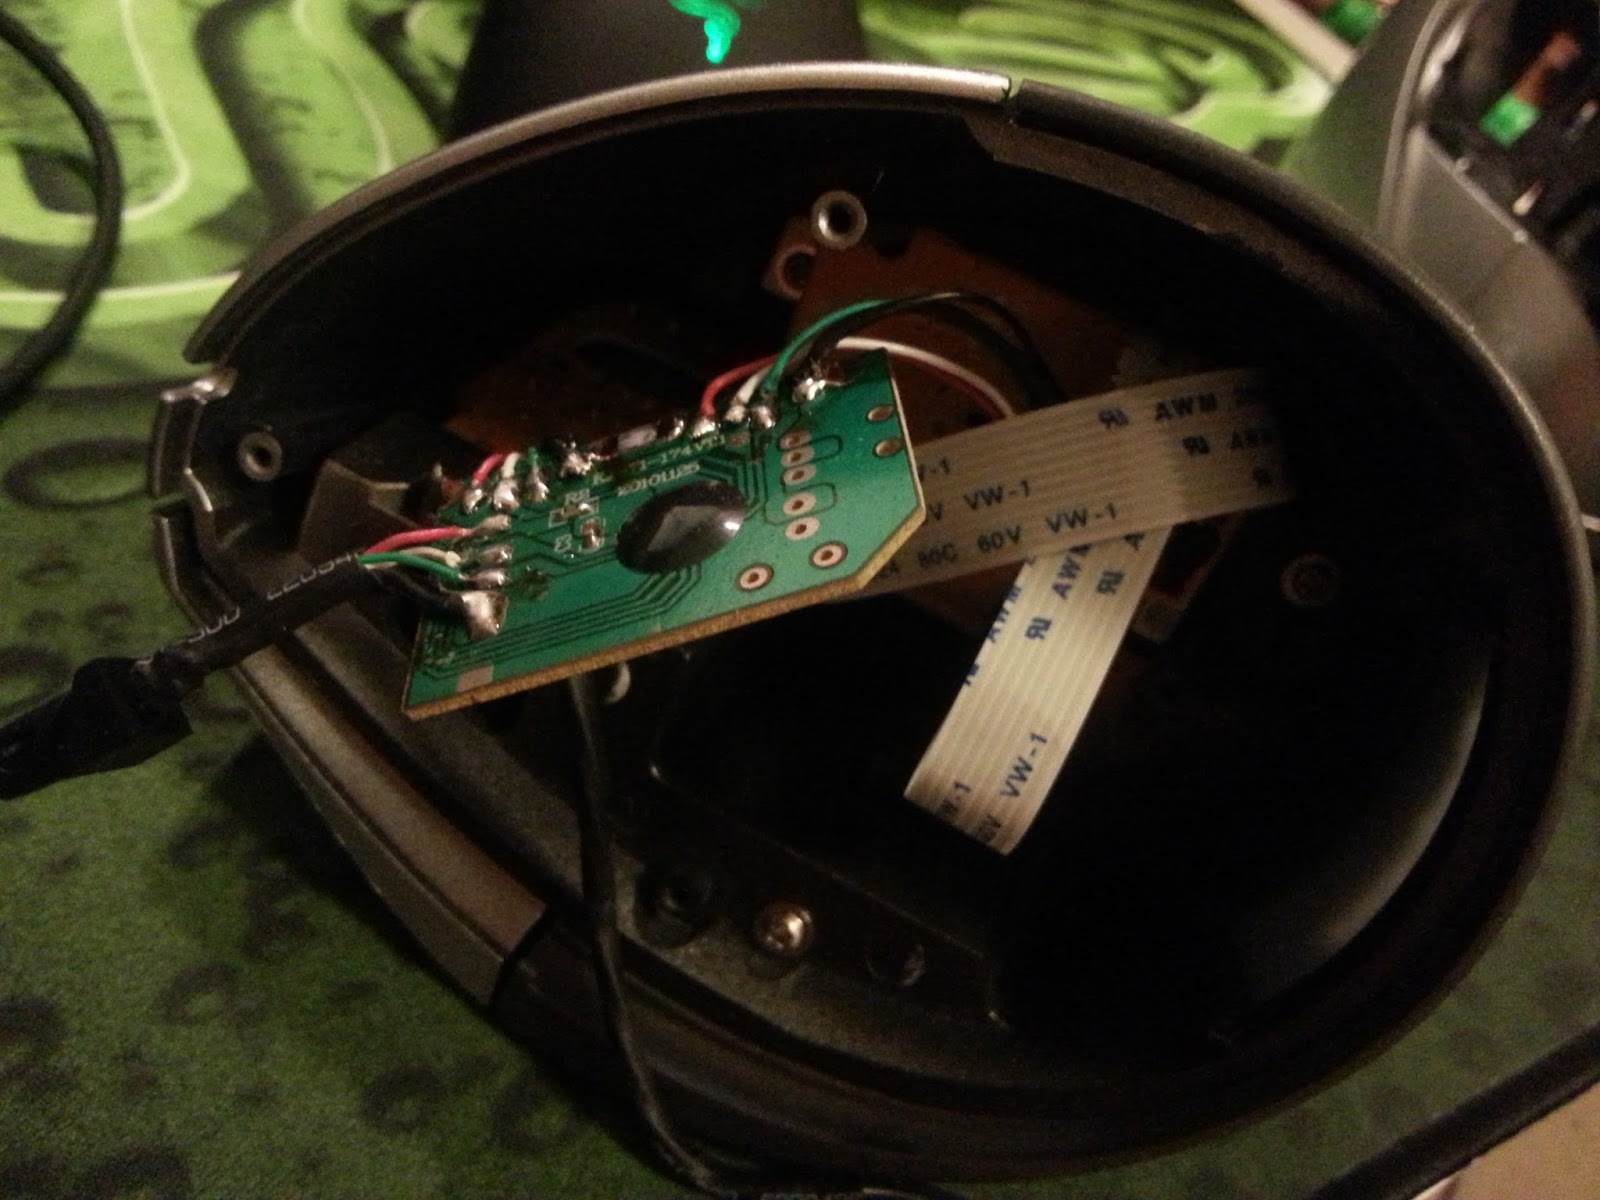
Now comes the easy part, putting it back together. I added some kapton tape to the scroll wheel PCB just to be sure there weren’t going to be any shorts. I probably should have covered the original laser aperture, but with no lens it hasn’t given me any problems yet.

Looks messy, works beautifully. Amazingly, the $2 hub was actually USB 2.0! MouseView was showing 1000Hz from the X5, which is just lovely.
The RGB LEDs on the X5 even show through the Evoluent logo, which is a great bonus:
Compared to all the failed attempts, this mod is now wonderfully easy, assuming you’re capable of desoldering USB connectors. However, since there’s no longer a need for any buttons on the donor, I’d recommend getting a smaller mouse to shove inside this one to save hacking away at PCBs.
Again, if you get wrist pain from gaming, I’d highly recommend a vertical mouse. Don’t get a Chinese copy, they’re simply too small to be useful. I got mine for $70AUD used, they seem to go for about $40USD if you’re in the states. See if you can deal with the bad sensor, and if you can’t, upgrade it!
Comments